![]() About 10 years ago, we showed you in three posts how USB modules are borne at Yoctopuce, from the prototype to production. Today, we present the last stages of production: the soldering of the through components, which is now also automated, the preparation of the modules and, finally, the shipping of the orders placed by our customers.
About 10 years ago, we showed you in three posts how USB modules are borne at Yoctopuce, from the prototype to production. Today, we present the last stages of production: the soldering of the through components, which is now also automated, the preparation of the modules and, finally, the shipping of the orders placed by our customers.
The last production stages
As a reminder, we had stopped at when we removed the panel from the oven. We still had to solder the through components, which we did manually at the time. Since then, we acquired an automatic selective soldering machine, enabling us to be much more efficient for this task. However, as it works under a nitrogen atmosphere to make beautiful solders, it requires a huge compressor which makes a deafening noise...
The machine at work
After the panel has go through the machine, it is ready to be transformed into modules.
Preparing the modules
When all the components have been soldered on the panel, we can split each module. To do so, we cut the panel into strips with simple cutting pliers, in order to cut close to the micro-USB connectors.
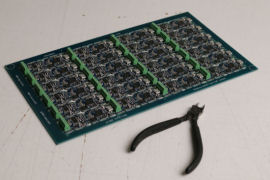
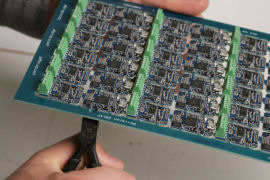
Cutting the panel into strips
We then use a card splitter to cut the lugs that protrude from the connector side, before sanding the end of the module on the whole strip. We use a suction table for the steps producing dust, such a strip sanding.
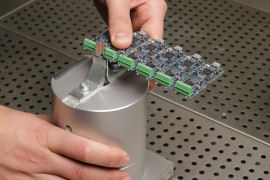
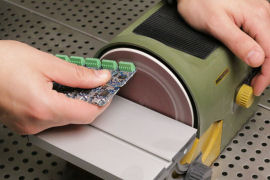
Preparing module strips
When we have sanded the strip, we split the modules from one another with a card splitter. When all the modules are split, we sand them individually to make them as neat as possible.
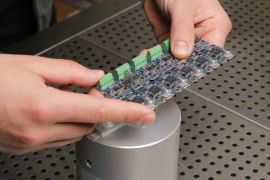
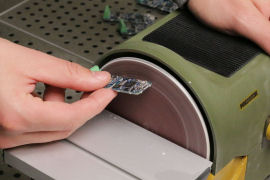
Splitting a strip into modules
When we have sanded the modules, we blow away the dust from the sanding.
Now we must flash to modules to assign them a unique serial number as well as their specific software. To do so, we use a programming server which automatically configures the module by USB as soon as it is connected.
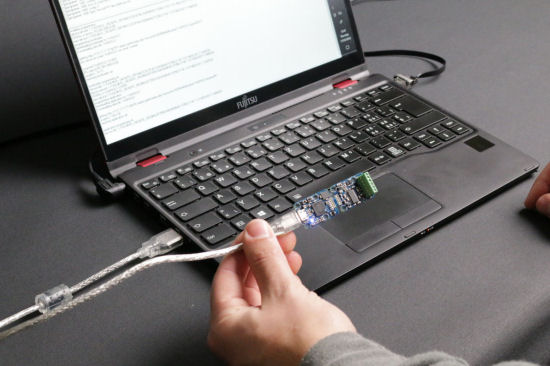
Programming the module
We then individually test each module to check that it is working properly. For each type of module, there is a distinct test set-up. For example, for the Yocto-Bridge, we use a small home-made tester, using spring-loaded spikes, which enables us to submit the module to the test conditions. A program checks in real time that the measured values are correct, as well as the module consumption. When the test is validated by the system, it produces a unique identification label for the module. This label, without which the module cannot be shipped later on, guarantees that the module was tested and works as expected. If the module doesn't pass the test, we analyze the issue and fix it if possible, before testing it again. When the label is printed, we use it to seal the module into an antistatic pouch. The module is finally ready for shipping.
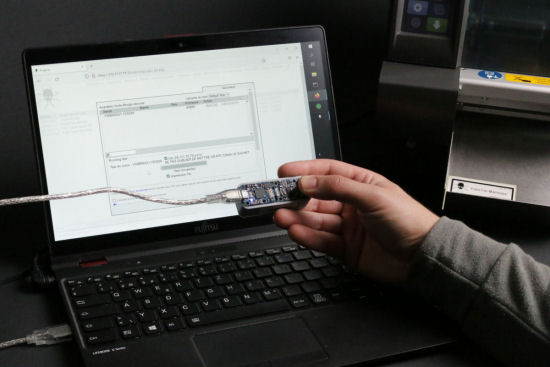
The test of the module is validated
Preparing the package
We have reached the last step: preparing the package. It's done in two steps. The first one is to gather all the items of the order. There are two possible scenarios: either all the items are in stock, or one or more items are not available and we must quickly run a production batch in order for the modules to be ready as soon as possible, in principle the next day. The second step in preparing the package is to scan each item one after the other, to ensure not to forget any and to guarantee the traceability of the sent items, and to put them in the package. When all the items have been scanned, we print a shipping label. We pad the package with honeycomb paper (or other recycled padding received from our suppliers) so that the products do not suffer damage during transport, and we add the card with the safety and start-up instructions.
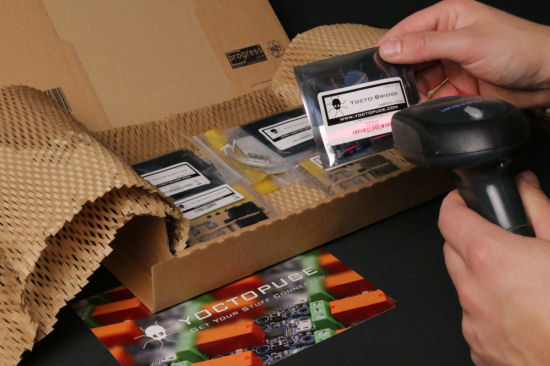
Scanning the items individually
We close the package and it's ready for shipping!


