 A few weeks ago, we looked at how to build a smart extension cord. This week, we're going to look at how to track the consumption of electrical appliances plugged into this socket with Home Assistant.
Home Assistant is a free home automation software. It allows you to control various electrical appliances, interact with different systems, and also monitor power consumption in a home. It's this latest feature that interests us today.
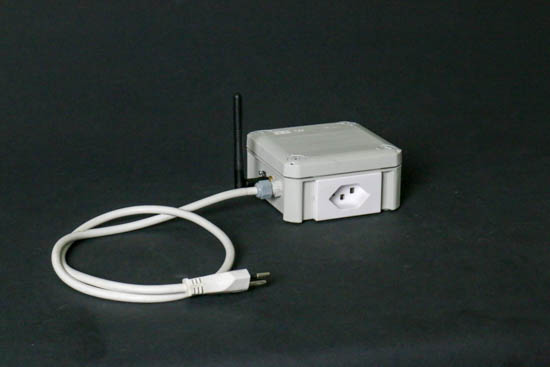
The extension cord we built in a previous post
We've chosen to install Home Assistant on a Raspberry Pi 4, as the procedure is extremely simple. Simply use the Raspberry Pi Imager utility and install the "Home Assistant" image.
When writing the SD card, instead of installing RaspberryPi OS, go to the "Other specific-purpose OS" section, then to the "Home assistants and home automation" sub-section and select "Home Assistant". Once the SD card has been written, simply insert it into the Raspberry Pi 4 and switch it on. On first boot, Home assistant launches an installation script which asks you a few questions to complete the installation.

An image of Home Assistant OS is installed directly from the Raspberry Pi Imager tool.
As we explained in a previous post, the best solution for connecting our smart extension cords is to use an MQTT broker. The Mosquitto MQTT broker is available as an Add-on. Simply search for MQTT in the Add-on Store of the Home Assistant interface. Using this add-on is very easy, because in addition to installing Mosquitto, the installation script automatically adds the configuration files necessary to Home Assistant.
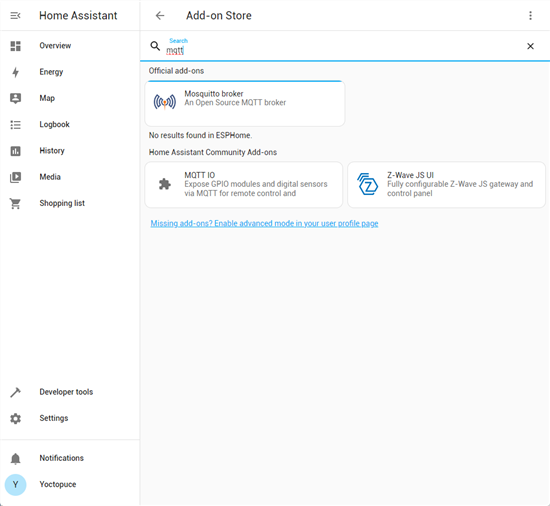
The MQTT Mosquitto broker is available as an add-on
Connecting the extension cord to Home Assistant
Now that Home Assistant and the MQTT broker are installed, we need to configure the HTTP callback of the YoctoHub-Wireless-n on which the Yocto-Watt is mounted. We need to configure an MQTT-type callback and enter the IP address of our Raspberry Pi.
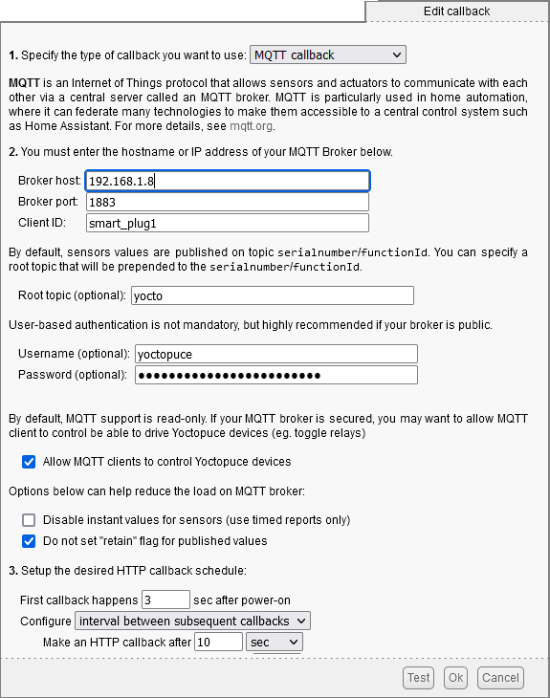
The parameters of the MQTT callback
To avoid polluting the MQTT namespace, we've added a root topic.
For the authentication parameters, use the same Home Assistant login. We've also disabled the "retain" flag and allowed value changes from MQTT.
Once the callback has been configured, Yoctopuce modules automatically appear in the list of Home assistant devices.
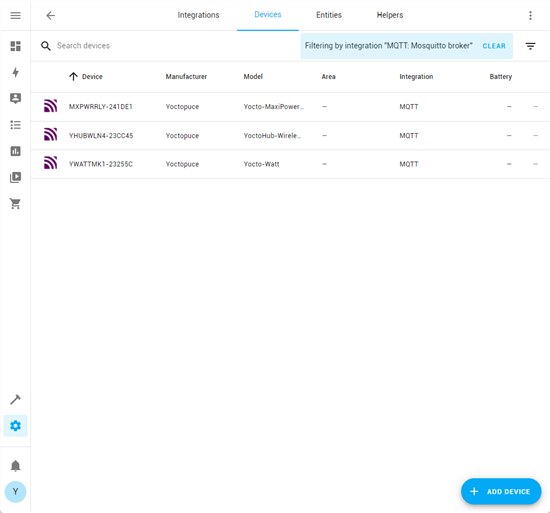
The Yoctopuce modules
Computing power consumption
Home Assistant has an "Energy" panel that monitors and displays the installation's power consumption. This panel is very useful if you're looking to optimize your power consumption as it displays a history of the energy consumed. However, Yocto-Watt cannot be used directly in this panel.
Home Assistant requires a measure of consumption (Wh), i.e. the power (W) used during an hour (h). For technical reasons, Yocto-Watt only publishes power on MQTT. To compute electrical power consumption, you need to integrate power measures as a function of time. Fortunately, Home Assistant has a Riemann sum integral module that does just that.
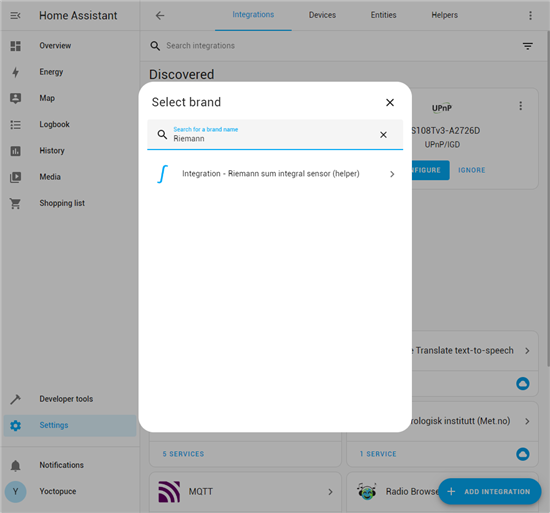
The Riemann sum integral integration
To use this feature, go to Settings and add a "Riemann sum integral" integration. This creates a new entity which is the integration of a sensor. In our case, we choose the Yocto-Watt power sensor and give it the name "My Consumption".
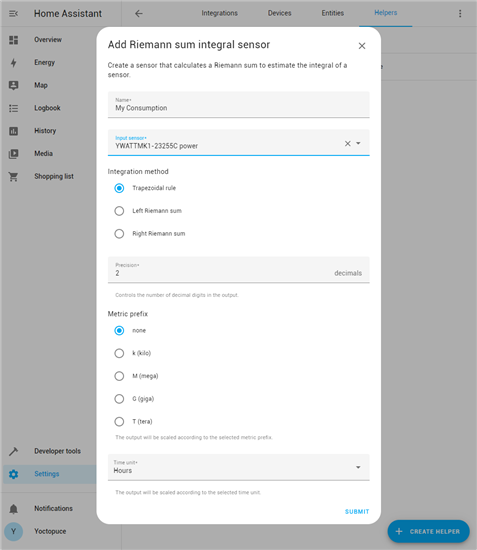
The integration parameters
Displaying power consumption
Now that we have our "My Consumption" integration, we can use it in the Energy panel.

We use our integration in the Energy panel
Now we can use all the features of the Energy panel and track the extension cord's consumption day by day and hour by hour.
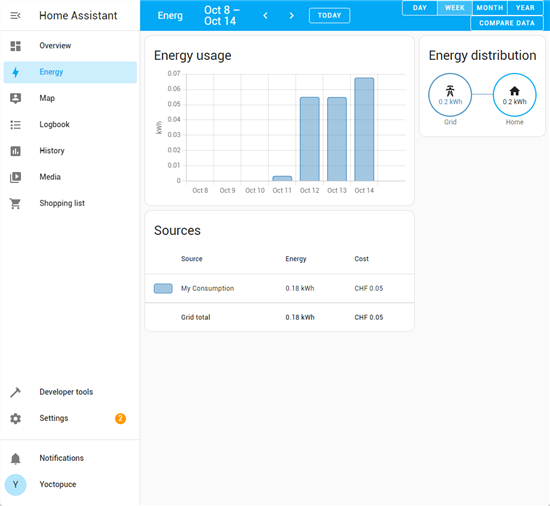
The Energy panel
Conclusion
As we've just seen, Home Assistant makes it possible to efficiently monitor the power consumption of devices connected to our Yocto-Watt.


