![]() Almost all of the Yoctopuce products are conceived so that you can use them without needing a soldering iron. Nevertheless, they are also designed for you to connect them together in a very compact way and there, a soldering iron is necessary because there are contacts to solder. This is the case, for instance, when you want to connect modules to a Micro-USB-Hub. We realized that a large number of our clients didn't feel at ease with a soldering iron. We therefore decided to offer you a short tutorial.
Almost all of the Yoctopuce products are conceived so that you can use them without needing a soldering iron. Nevertheless, they are also designed for you to connect them together in a very compact way and there, a soldering iron is necessary because there are contacts to solder. This is the case, for instance, when you want to connect modules to a Micro-USB-Hub. We realized that a large number of our clients didn't feel at ease with a soldering iron. We therefore decided to offer you a short tutorial.
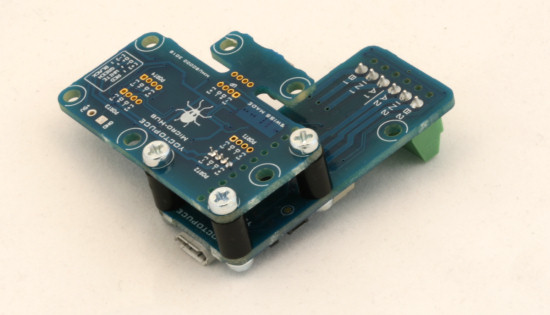
Soldering a module on a Micro-USB-Hub requires some ease with a soldering iron
Theory
Let's start with some theory on soldering. It consists in heating two metallic pieces and in linking them with another melted metal. The principle is simple, there are only two important points to remember.
First of all, in a general way, the higher the temperature, the quicker chemical reactions happen, in particular oxidation reactions: as soon as you start heating the pieces you need to solder, they'll start oxidizing very quickly. But tin does not adhere well on an oxidized metal.
Therefore, we must use flux to solder electronic components. The role of flux is to clean the contacts needing soldering and to oxidize instead of them when the temperature rises. Normally, standard soldering wires already contain flux, but practically, there is not enough flux in them, particularly into small section wires. Flux is available as a gelatinous liquid contained in a syringe, from which you only need to put a drop on the contacts to solder before soldering. The difference between a soldering with and without flux is simply spectacular. This is it for oxidation.

A syringe of flux cream
The other important point to remember is that soldering adheres only on parts which have been heated. Therefore, you must heat both contacts at the same time: Thus you need to use an adapted soldering tip.

The position of the soldering tip is essential: both contacts to be soldered must be heated simultaneously
Moreover, you'll obtain a much better result if you wet your tip with some soldering before starting. Thus, there will be a better thermal bridge between you tip and the contacts to be soldered.
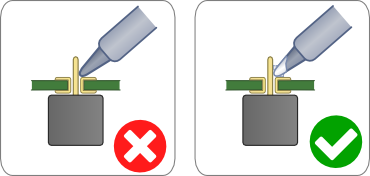
If you put some tin at the end of your tip, soldering becomes easier
That's it. You now know the essential on soldering theory. Let's go to practice.
Practice
Use a good soldering iron. Many people have difficulties in making good solders because they simply don't have an appropriate soldering iron. Select an iron on which you can change the tips at a low cost: whatever you do, tips end up oxidized and become unusable.
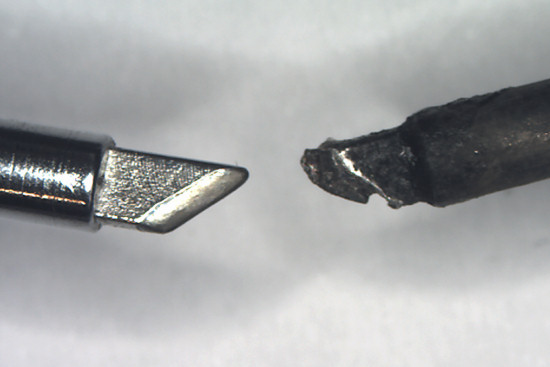
A new tip, and another, of the same model, after a few months at Yoctopuce
Select an iron on which you can set the temperature, you don't need the same quantity of energy to solder an 10A supply wire and a 1.27mm pitch connector. The size and the shape of the tips have their importance, remember that the tip must touch both parts needing soldering at the same time. However, avoid tips in the shape of a needle, because the end oxidizes extremely quickly.
Select a soldering wire appropriate for your work: if you try to solder a 1.27mm pitch connector with a 2mm section wire, it will necessarily go wrong.
Think of a system to hold the pieces to be soldered in place: you need one hand to hold the iron and another hand for the tin wire: you'll soon find yourself short of hands. RC model retailers sell very practical mini vices.
Correctly set the temperature of your iron: if you don't put the heat high enough, the soldering takes ages to melt, if you heat too much, you'll char the flux before tin has time to melt... Remember: the more heat there is, the faster oxidation is. Start with 350░C and adjust if necessary...
Before you start, wet your tip by applying some soldering on it. If the soldering absolutely refuses to stay on the tip, it's because the latter is oxidized, probably because your iron stayed on too long without being used. Don't try to solder with an oxidized tip, you won't obtain a good result. Fortunately, there are products, sold under the name of "tip activator" which allow you to recover from this situation and clean in depth an oxidized tip. Note that oxidation/cleaning cycles have the effect of gnawing at the tips.
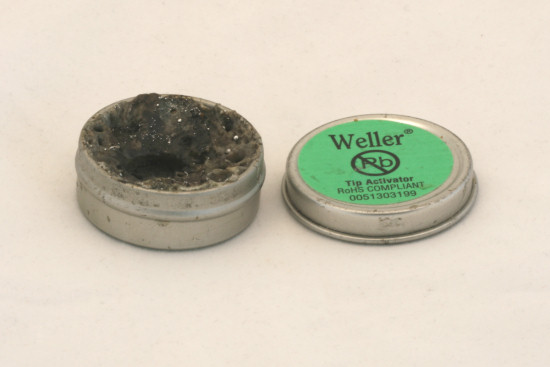
To recover from an oxidized tip, you only need to dip it (heated) in this
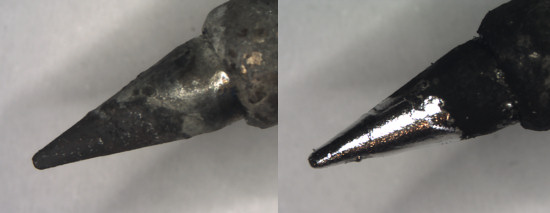
An oxidized tip, before and after dipping in the tip activator
To make a good soldering, put a drop of flux on the contacts. Wet very lightly the soldering tip with some tin, apply the tip so that it touches simultaneously both contacts to be soldered, then bring the tin wire closer until it touches one of the contacts, or even both if possible. Soldering melts and spreads itself between the contacts. Immediately remove the tin wire and then the iron. That's it, it's done.
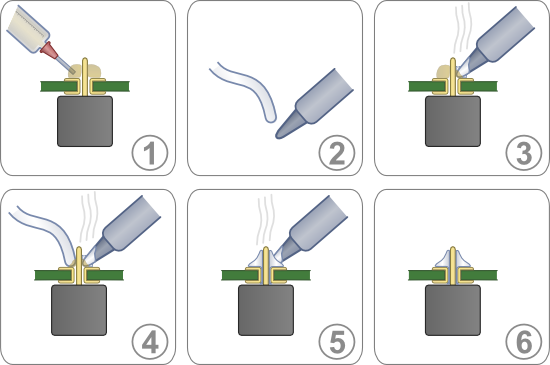
The different steps
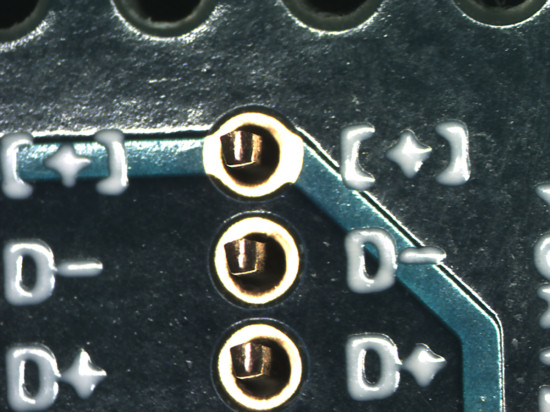
A contact to be soldered
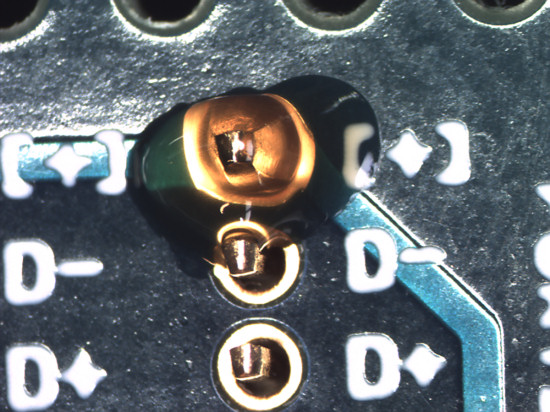
We put a drop of flux
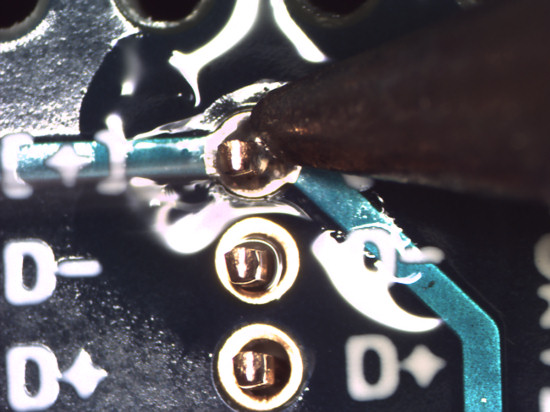
We heat and bring the tin wire closer
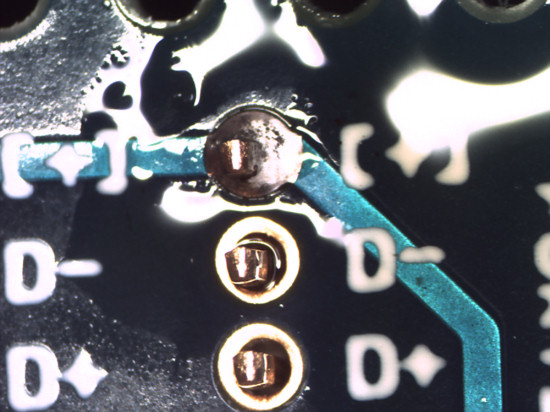
It's soldered!
After a few solders, charred flux accumulates on your tip, leaving blackish traces on your solders. To prevent this, clean the tip regularly by wiping it on a damp sponge. If you lost the sponge that came with your iron, damp paper towels will do perfectly well.
Recovering from a failed soldering
Failing a soldering happens now and then. Most of the time, it is enough to apply some flux on the failed soldering, to heat the whole with the tip, and everything falls into place. For more serious cases, you need desolder braid. It looks like a ribbon made of a multitude of small copper wires braided together. Apply a generous dose of flux on the failed soldering, keep the desolder braid on the soldering, and press with the soldering tip. Melted tin comes up in the desolder braid by capillarity, and you only need to redo the soldering, correctly this time.
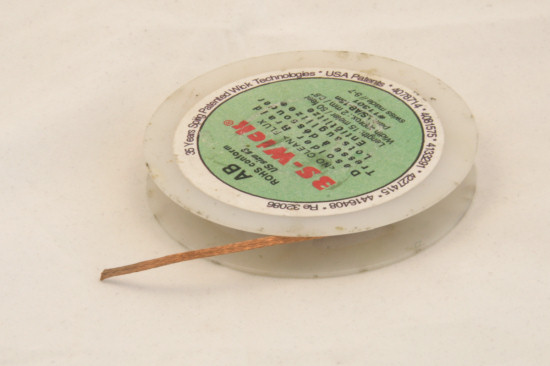
Desolder braid: you just can't do without
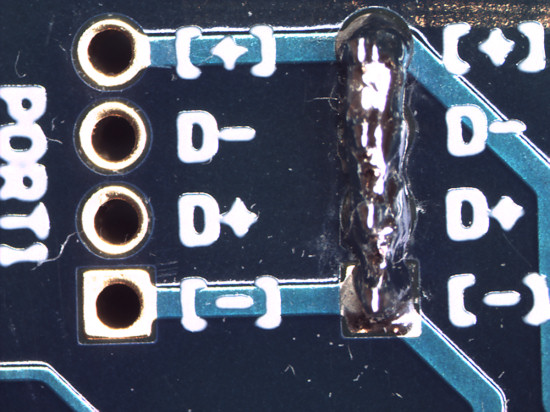
A badly failed soldering
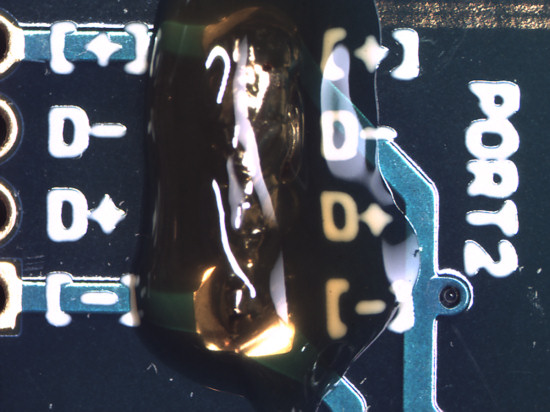
A generous dose of flux
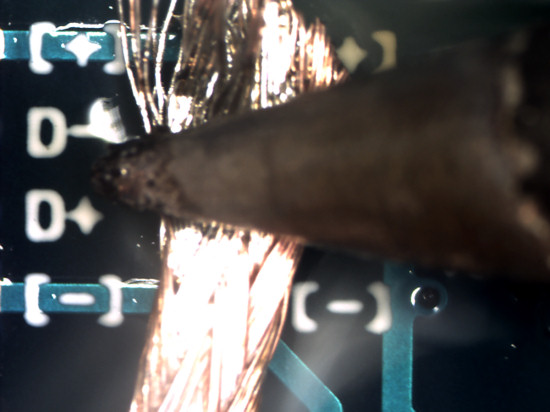
We (delicately) press the desolder braid on the soldering with the tip of the iron
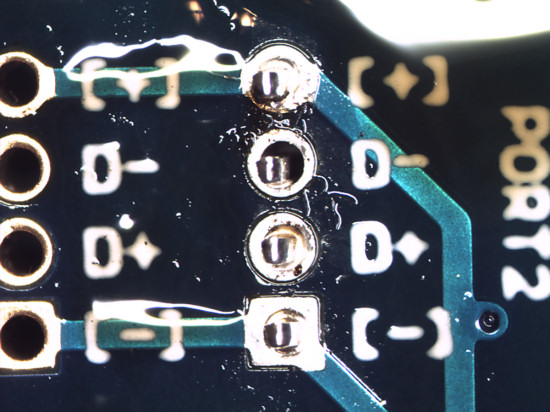
And that's it! Obviously, now there is flux everywhere
Cleaning the board
You'll soon notice that, as much flux is a miracle product when your need to make beautiful solders, as much it is a true nightmare afterwards: there are always sticky remains near the solders. And it's quite hard to clean. There are specific products to clean flux remains, but be careful, these products can also damage some components.
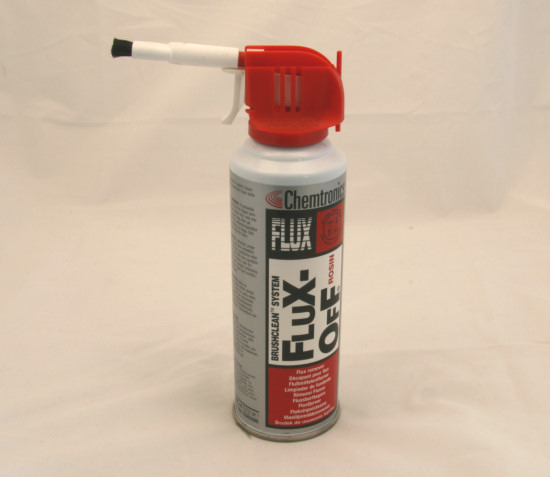
This product allows you to clean flux traces relatively easily
Shopping list
To summarize, to comfortably solder Yoctopuce modules, you need:
- Flux cream
- Soldering wire, diameter 0.2 to 0.5mm
- Desolder braid
- Flux cleaner
- A good soldering iron of about 60-80W with a thin soldering tip (for example Weller WSD81 with a LT H tip)
You can find all of this at component retailers which also sell tools, such as Farnell.


