 Some time ago, we looked at how to build a smart extension cord and how to use it to monitor the consumption of an electrical appliance with Home Assistant. We're going to enhance this Home Assistant integration by adding the ability to switch this extension cord from Home Assistant.
As a reminder, in previous posts we used the Mosquitto MQTT broker to link Yoctopuce products to Home Assistant. This enables Yoctopuce modules to publish the current sensor value to Home Assistant.
This week, we want to work in the opposite direction: Home Assistant needs to send commands to the Yoctopuce modules. Once again, the MQTT protocol can be used in the same way.
By default, the YoctoHub-Wireless-n blocks all commands coming from the MQTT broker for security reasons. To allow MQTT to control Yoctopuce modules, you need to activate the Allow MQTT clients to control Yoctopuce devices option. This option can be found in the YoctoHub-Wireless-n configuration.

The "Allow MQTT clients to control Yoctopuce devices" option
When this option has been enabled, it is possible to control individual Yocto-MaxiPowerRelay outputs from Home Assistant.
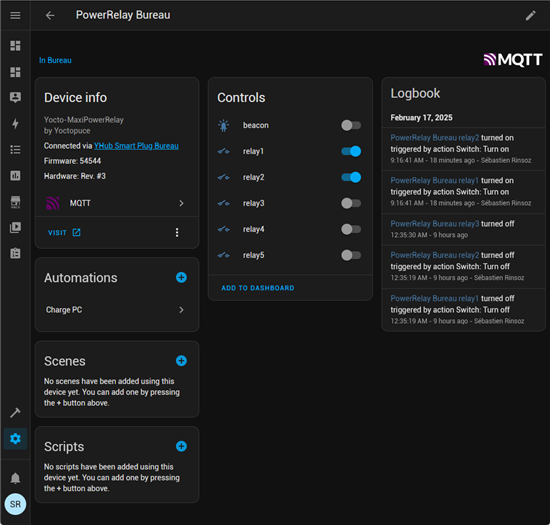
The relays of the Yocto-MaxiPowerRelay
You could already switch the socket in Home Assistant by directly activating the relay outputs of the Yocto-MaxiPowerRelay, but it's possible to do something a little better.
You can create a virtual switch to switch the two Yocto-MaxiPowerRelay outputs to which phase and neutral are connected.
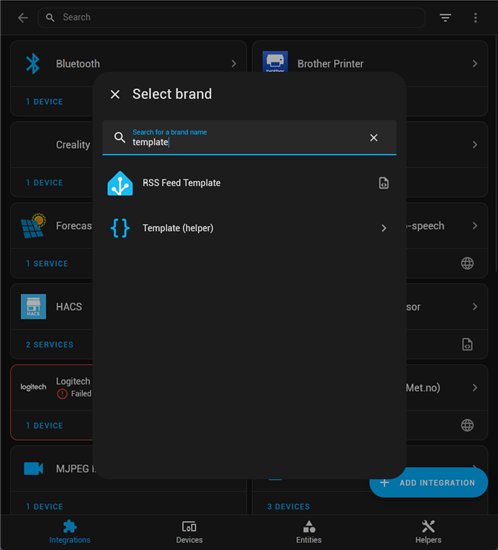
The integration template lets you create virtual devices
To do this, add a "Template (helper)" integration and select "Template switch". In our case, we want to switch relays 1 and 2.
The "Value template" field is used to determine the state of our virtual switch. As the two relays are synchronized, all we need to do is test the entity id of one of the relays (in our case "switch.relais1").
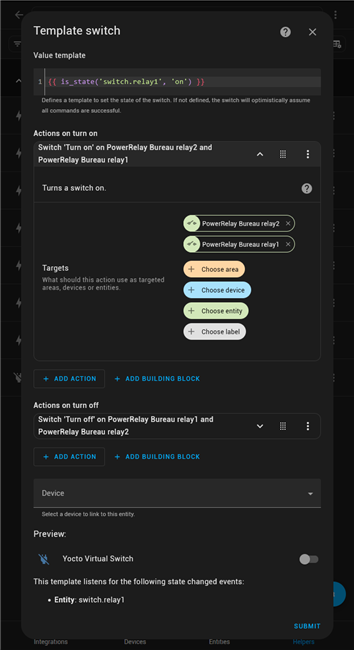
The virtual switch configuration
Next, we need to add the actions for switching the two relays on and off. This step is more intuitive, as there's a wizard to select the relays directly.
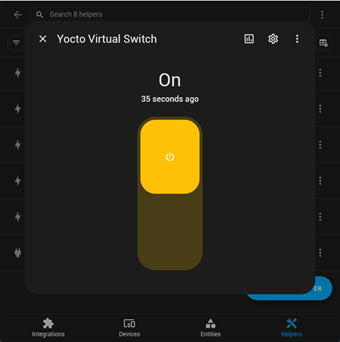
The virtual switch can be used anywhere in Home Assistant
Now that this virtual button has been created, you can use it in integrations. For example, we've used our extension cord to automatically disconnect the printer. We've installed a Flic button that turns on our cord and keeps it on as long as the printer is printing.
Here's the automation logic .

The virtual switch can be used anywhere in Home Assistant
Thanks to this configuration, we now have a handy virtual switch to control our smart extension cord from Home Assistant, offering greater flexibility and automation.


