![]() This week, we discuss a small DIY to display the weather forecast. It's an opportunity to show you that you can use the job system of the Yocto-I2C for something else apart from reading sensors.
This week, we discuss a small DIY to display the weather forecast. It's an opportunity to show you that you can use the job system of the Yocto-I2C for something else apart from reading sensors.
The principle
The idea is to engrave a few icons on acrylic glass panes and to light them on the side to illuminated the icons. We already used this edge-lit technique a few years ago, but this time we are using several panes that we light individually. As light source, we use a led matrix sold by Adafruit which can be driven by I2C. We selected this model for its density.
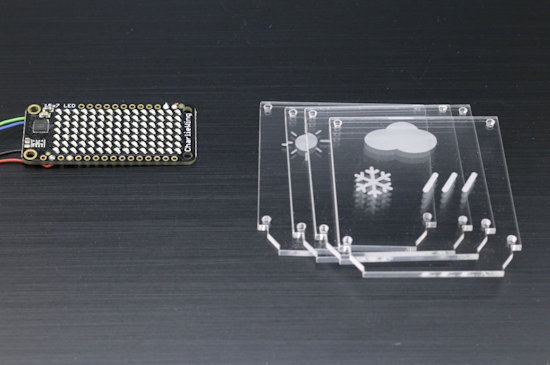
The key components of our tinkering
To make our display work, we only need to make sure that the edges of the transparent panes are aligned with the lines of leds in the matrix and to light the leds one line at a time. The closer the LED and the panes are, the better.
The electronics
The electronic part is made of the led matrix and a Yocto-I2C to drive it. We chose a YoctoHub-Ethernet to control the Yocto-I2C, but we could very well have selected the brand new YoctoHub-Wireless-n. To stay as compact as possible, the Yocto-I2C is screwed directly on the YoctoHub-Ethernet and the connection is made with Board2Board-127 connectors.
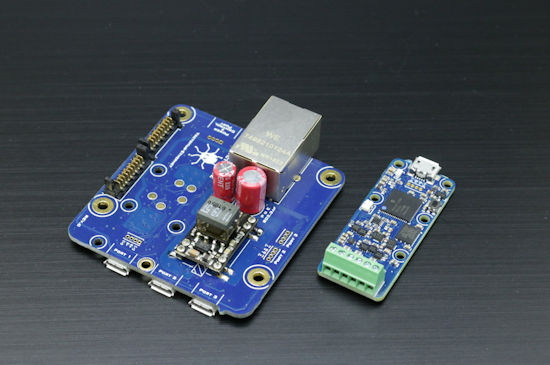
A YoctoHub-Ethernet and a Yocto-I2C
Implementation
The led matrix is mounted on an acrylic glass pane, itself fixed to the YoctoHub-Ethernet with threaded spacers. All the electronics fits in a small wood box built for that purpose.
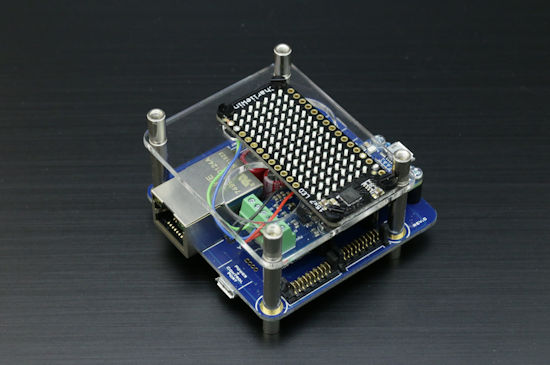
The electronics
The acrylic glass panes are maintained together with aluminum adhesive tape which has the advantage of reflecting the light which tries to escape from the sides of the panes. Between each pane, there is a thin black cardboard frame which has two functions: it's used as a spacer to align the panes with the leds, and it hides the edges of the panes which have a tendency to glow.
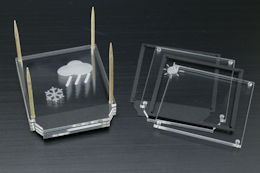
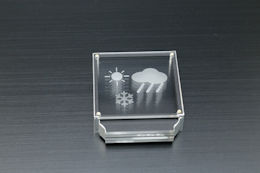
Building the optical block
To ease the assembly process, the panes have holes in the four corners. When assembling, inserting a toothpick in the holes helps to ensure that the panes stay perfectly aligned.
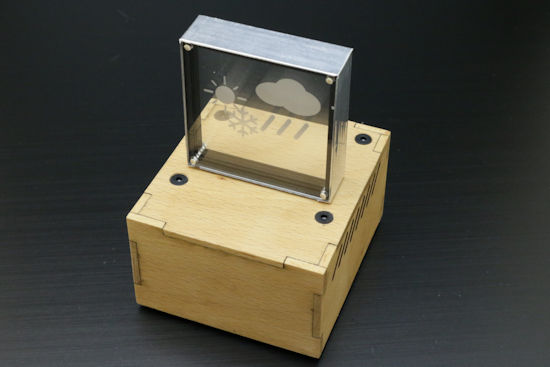
It's done
Programming
We wrote the code that manages everything in PHP. It's a script that you can put on any server. It is called thanks to the callback API of the YoctoHub-Ethernet. This scripts sends a request on OpenWeatherMap to know the forecast weather over the next 18 hours and lights up the corresponding panes.
It's here that the subtlety of this DIY resides: the I2C sequences required to initialize and then drive the led matrix are rather heavy, in the order of the thousand of bytes. Rather than transferring them from the PHP script, we pre-computed them in the shape of Jobs stored in the Yocto-I2C and the PHP script only has to run the job corresponding to the weather conditions that were pre-computed.
Thus, the PHP code used to manage our display is rather short:
require 'yocto_i2cport.php';
$key = "**Put your openWeatherAPI key here**";
//Cartigny, Switzerland.
$latitude= 46.17;
$longitude= 6.02;
$stats = ["sun"=>0,"cloud"=>0,"rain"=>0,"snow"=>0];
// get forecast data from openWeatherMap
$url= "http://api.openweathermap.org/data/2.5/forecast";
$fullurl=$url."?lat=$latitude&lon=$longitude&APPID=$key";
$data = json_decode(@file_get_contents($fullurl));
if (is_null($data))die("Cannot load data from OpenWeather ($fullurl)");
if (!key_exists("cod",$data))die("Cannot parse data from OpenWeather ($fullurl)");
if ($data->cod!=200) die("OpenWeather error".$data->message);
// Crude method : count cloud, sun, rain and snow events based on condition code
for ( $i=0;$i<6;$i++)
{ printf($data->list[$i]->weather[0]->id." : ".$data->list[$i]->weather[0]->description."<br>\n");
$id= $data->list[$i]->weather[0]->id;
if (($id>=200) &&($id<=599)) {$stats["cloud"]++;$stats["rain"]++;}
if (($id>=600) &&($id<=699)) {$stats["cloud"]++;$stats["snow"]++;}
if (($id>=700) &&($id<=799)) {$stats["cloud"]++;}
if ($id==800) {$stats["sun"]++;}
if ($id==801) {$stats["sun"]++;$stats["cloud"]++;}
if ($id>=802) {$stats["cloud"]++;}
}
// sort the stats array to find out most represented events and
// decide best weather representation
arsort($stats);
$keys = array_keys($stats);
$weather = "clear";
if (($keys[0]=="snow") || ($keys[1]=="snow")) $weather= "snowy";
else if (($keys[0]=="rain") || ($keys[1]=="rain")) $weather= "rainy";
else if ((($keys[0]=="sun") && ($keys[1]=="cloud")) ||
(($keys[0]=="cloud") && ($keys[1]=="sun"))) $weather= "cloudy";
else if ($keys[0]=="cloud") $weather= "overcast";
// some debug info
for ($i =0; $i< count($keys); $i++)
print($keys[$i].":" .$stats[$keys[$i]]."<br>\n");
Printf("Weather : $weather <br>\n");
// if we are running a call back, lets find the
// I2C function and use it to start the job
// matching the weather variable.
try
{if (yRegisterHub("callback") == (YAPI::SUCCESS))
{ $i2c= yFirstI2cPort();
if (is_null($i2c)) Print("No i2c port found");
else $i2c->selectJob("$weather.job");
yFreeAPI();
}
}
catch (Exception $e) {
print( "YAPI error: ". $e->getMessage(). "<br>\n");
}
print("Done.");
Configuring
System configuration is relatively simple. It consists of:
- Hardcoding in the PHP script the coordinates of the location of which you want to know the weather forecast, we could improve this by passing the coordinates on the callback URL.
- Uploading the .job files on the Yocto-I2C
- Configuring the YoctoHub-Ethernet to perform a Yoctopuce API callback on the PHP script, once per hour is plenty enough.

The I2C commands are stored in the jobs, note the size of the files
Outcome
And here is the outcome. In reality, the effect is even more striking: the icons appear to be suspended in a transparent bloc and light up without the viewer seeing where the light comes from.
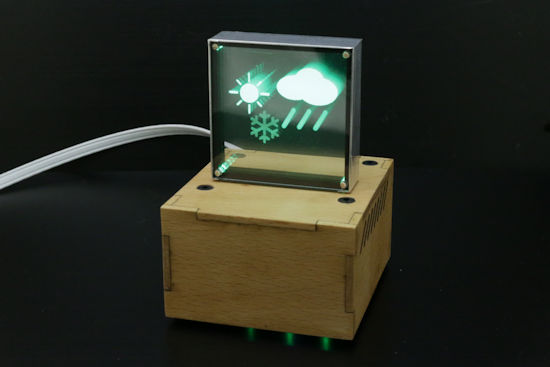
It's even more spectacular in real life


