![]() Do you recall the USB/laser mail box? It is working well, thank you. But the signaling part has a big WAF issue. Indeed, a Yocto-Color device directly glued on the wall might look at bit ugly to some sensitive people. This article will explain how to use Plexiglas® refraction/reflexion properties to make a luminous picture frame with a changing color feature.
Do you recall the USB/laser mail box? It is working well, thank you. But the signaling part has a big WAF issue. Indeed, a Yocto-Color device directly glued on the wall might look at bit ugly to some sensitive people. This article will explain how to use Plexiglas® refraction/reflexion properties to make a luminous picture frame with a changing color feature.
Transparent materials have a nice optical property: a light ray going trough a transparent matter will most likely be kept inside it, by effect of the refraction principle. To make it simple, if you force light to enter a Plexiglas plate, most of it will stay trapped inside and stay hidden, until it encounters a frosted surface. In this case, the frosted surface will emit the light outside of the Plexiglas plate.
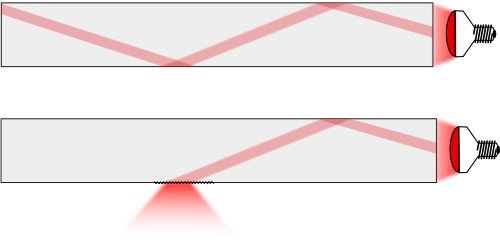
Example of a light ray inside a Plexiglas plate: a smooth surface will prevent the light from going out, a frosted surface will allow the light to go out.
In this article, we will transform a 5 dollar picture frame bought from the nearest hardware store into a nice lighted sign post. We will replace the picture with an engraved Plexiglas plate, that will be illuminated on one of its edges using a Yocto-Color device, so that only the drawing will show the light, producing a quite spectacular effect.
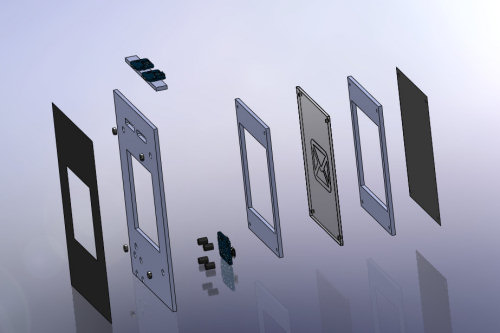
The different parts of the project
Let's start by cutting the parts from 3mm plywood.

The wooden parts
Put self adhesive aluminum foil on the smallest frames. The Plexiglas plate will be sandwiched between those two. This kind of aluminum foil can be found in hardware stores, not far from the heating department. If you cannot find it, you can do without it: the frame will just be a bit less luminous.
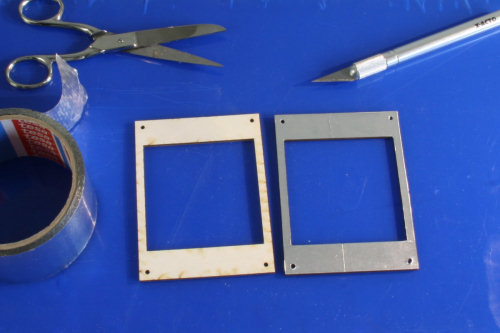
Let's make the wood reflective with self adhesive aluminium foil
Then we push the nuts into the wood. The most efficient way to to this is to use a screw and a hammer.
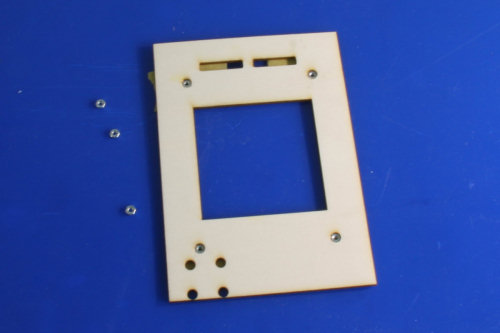
Place the nuts
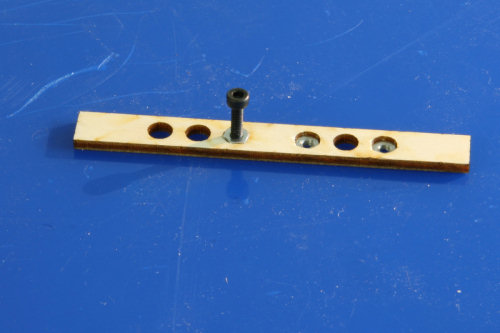
How tho push the nuts into the wood
Finally, we glue the spacers. These are meant to fix the Yocto-Color main part.
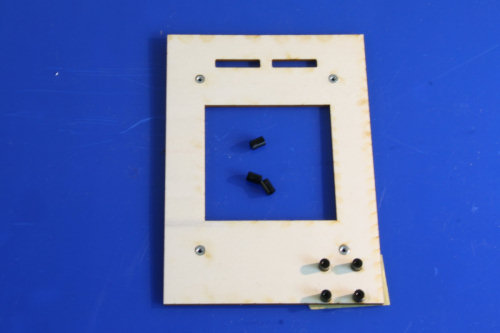
Spacers are glued
The most important part of the project is a 3mm thick Plexiglas plate, that you will buy from your favorite hardware store. You can use a jigsaw to cut it, but be gentle since Plexiglas is quite brittle. We used a laser engraver for the drawing but you can get a similar result using a X-Acto knife tip. All you need to do is to gently frost the surface.
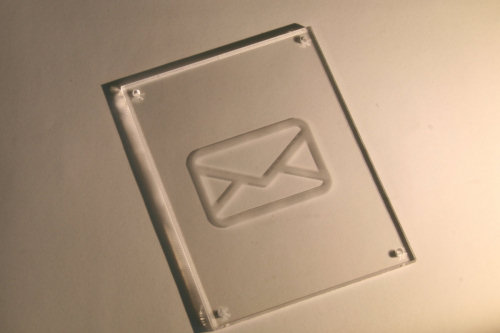
The Plexiglas plate with a nice drawing
We can fix the Plexiglas plate in sandwich between the two silver wood parts. Eventually, we add a black cardboard sheet on top of the stack. This will provide a nice black background. All this stuff is held with four screws.
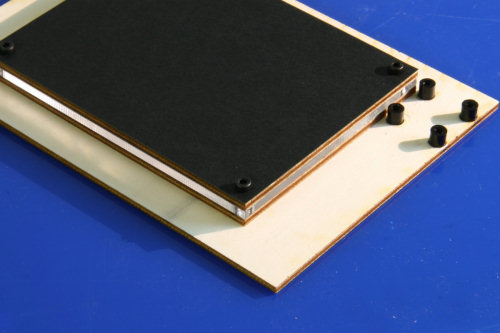
Let's screw all this stuff together
We put aluminum on the edges to prevent light going out this way. This is not mandatory, but it will enhance the result.
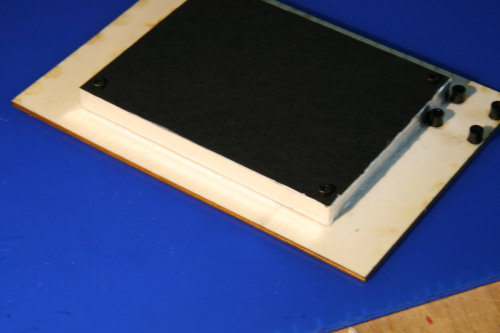
We have put self adhesive aluminum on the edges as well
Then we can setup the illumination. A Yocto-Color device is divided in 3 parts, and Picoflex connectors are soldered on the intended pads. Then the led parts are screwed on the led stand (the smallest wood part)
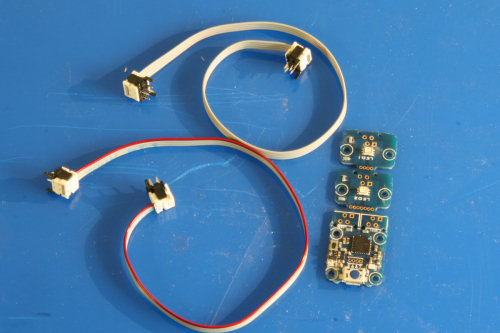
The Yocto-Color and Picoflex wires
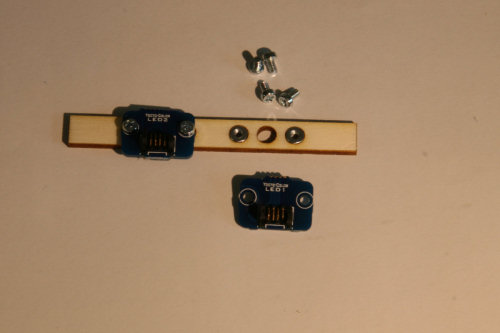
Leds are screwed on their stand
Now we have to glue the led stand on the frame. We have to make sure it is glued on the main frame only, so that the frame can easily be dismantled to change the Plexiglas plate in the future if needed.
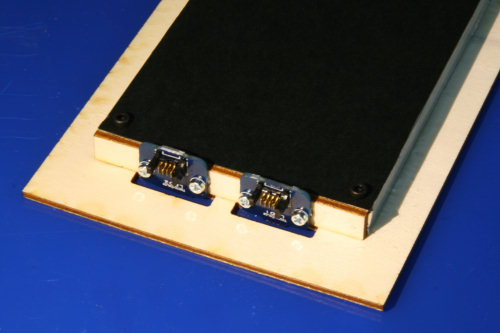
The led stand is glued
Then we screw the Yocto-Color main part on the spacers, and wire the leds. And we are ready for our first test.
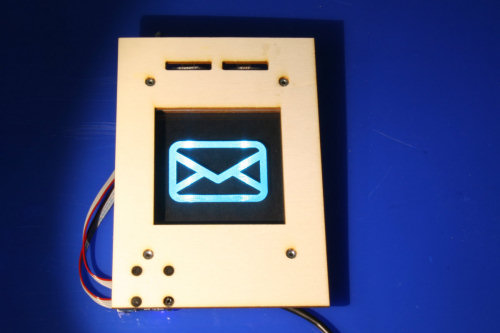
It's working!
Almost done. Now we put this in the picture frame, we make a notch in the frame border for the USB wire. Et voilà! It's done!
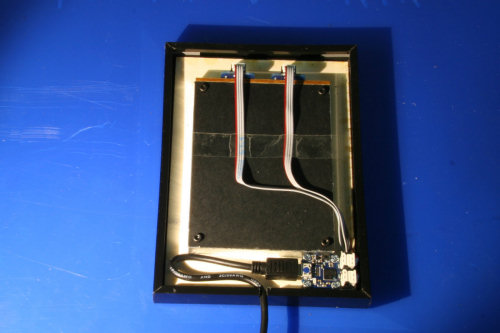
Done!
Now we have a nice and pretty picture frame allowing us to know if there is mail awaiting to be picked in the mail box.
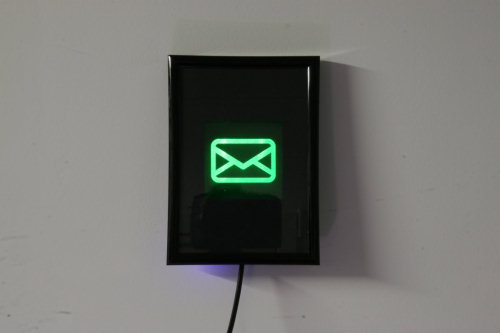
No mail :-(
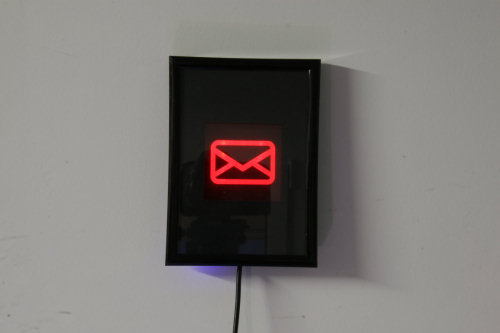
You've Got Mail


