![]() For one of our experiments, we needed a laboratory power supply, that we could easily move around and that we could drive remotely through a wired network connection. At Yoctopuce, hardware-wise, we tend to bet on the best known manufacturers, but this time we decided to give the RD6006 a chance...
For one of our experiments, we needed a laboratory power supply, that we could easily move around and that we could drive remotely through a wired network connection. At Yoctopuce, hardware-wise, we tend to bet on the best known manufacturers, but this time we decided to give the RD6006 a chance...
The RD6006 power supply
The RD6006, manufactured by the Ruideng Chinese company, is a power supply accepting from 6 to 70V DC and which can provide up to 60V DC, 6A as output. Note that it is a buck, the output voltage cannot be superior to the input voltage minus ~1V.
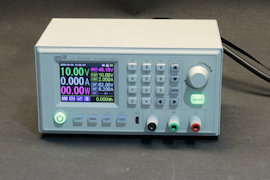
It takes the form of a tiny embeddable laboratory appliance front panel. Like in any self-respecting laboratory power supply, you can accurately adjust the output voltage and current. The power supply computes the delivered power and can integrate it. It has a 320x240 pixel color screen which can display a large amount of interesting information. It can even display a few basic graphs. As a matter of fact, this power supply has an excellent reputation among DIY-ers.
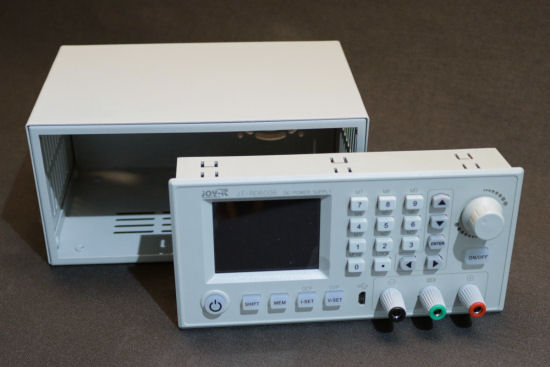
The RD6006 power supply
Ruideng sells this power supply mostly on Alibaba/Aliexpress for less than $50. But we decided to buy ours for twice as much from a European reseller. It is rebranded Joy-it JT-RD6006, but it is exactly the same.
The options
You can also buy the enclosure which goes with it. There are two sizes of enclosure: a large one designed to contain the AC/DC converter recommended by the manufacturer, and a small one, that you can see on the picture above, which is supposed to contain only a switch and a few wires.
There is also a small Wifi module that you can mount inside the device and which communicates with it through a TTL serial port. As we were looking for a wired connection, we weren't interested by the proprietary Wifi module, and we bet that we would succeed in fitting in the small enclosure a small AC/DC converter, a YoctoHub-Ethernet, and a Yocto-Serial, and that we could drive the power supply with the Yocto-Serial through the TTL port.
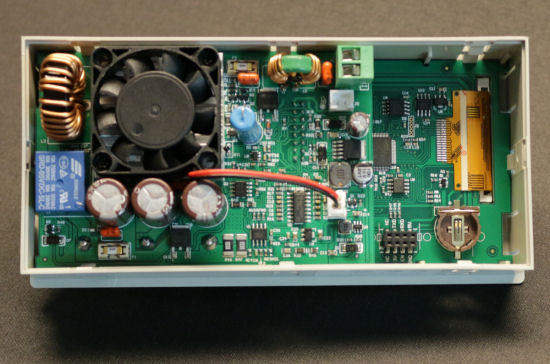
The back of the power supply panel, the TTL serial interface connector is on the lower right
Assembling
We selected a TRACO-POWER TML 100-148C converter accepting from 90 to 264V AC in input and which provides 48V DC at 2A in output. This means that our power supply can't provide more than 47V and that it is limited to ~100W, but it's quite enough for our needs.
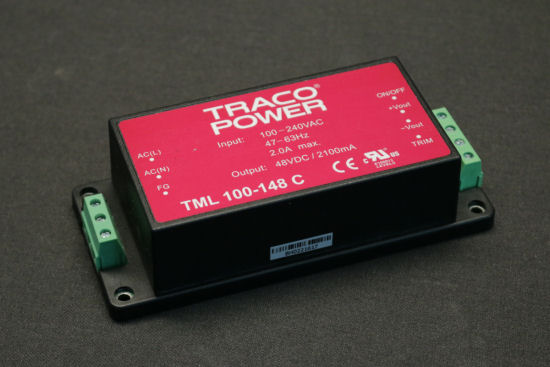
The AC/DC TML 100-148C, 100W converter, in a compact format
We added a C14 connector at the back of the enclosure. We protected the dangerous connections with liquid tape. For safety reasons, the ground wire is also going to be connected to the frame of the enclosure.
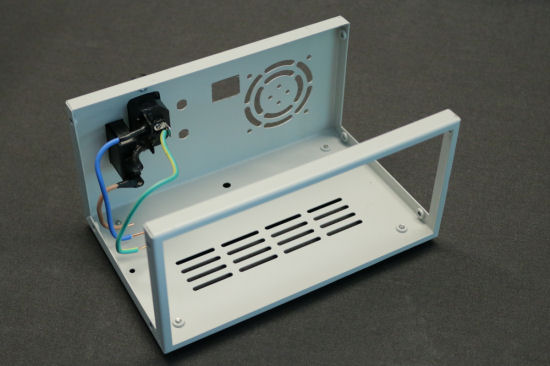
A few modifications of the enclosure
We assembled the converter, the YoctoHub-Ethernet, and the Yocto-Serial together with acrylic glass panes and threaded spacers. We obtained a block which just fits in the small enclosure. The Yocto-Serial is connected to the internal serial port of the RD6006, and the YoctoHub-Ethernet is powered by the 5V available on this same serial port.
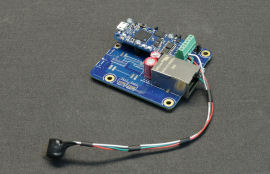
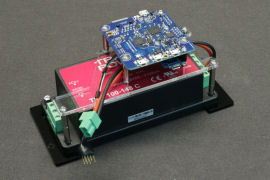
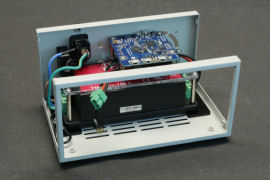
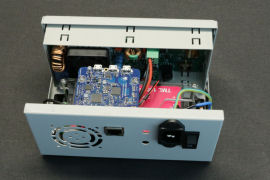
Assembling all the components
Note that we desoldered the PoE module from the YoctoHub-Ethernet because we noticed that the RD6006 didn't like to have its 5V in common with that of the YoctoHub when the later is powered by PoE. It's not really surprising in itself, we must be missing a diode somewhere.
We don't intend to use our power supply to the maximum power too often, but it's still packed inside. If we notice that it heats too much, we would then have to add a small fan at the back of the enclosure.
The result is a cute little power supply, measuring 17x11x10cm, weighing 1.4Kg, working on the mains, that you can drive by Ethernet, and that you can easily move around. Exactly what we wanted :-)
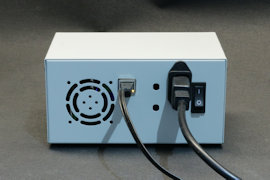
Tadaaa!!
Driving
Driving the power supply is done with ModBus commands on the TTL serial port. It sounds frightening said like this, but as the Yocto-Serial can natively manage Modbus commands, you only have to call the functions that allow you to read and write in a few ModBus registers. Because the RD6006 is very popular, you can easily find the register list on GitHub. For example, the Yoctopuce code to configure the voltage looks like:
The code to retrieve it would be:
print(str(res[0]/100)+" Volts")
You can also pre-program a job in the Yocto-Serial which continually queries the RD6006 and publishes the result in the shape of Yoctopuce sensors, which allows you to easily monitor the power supply with for example Yocto-Visualisation or to take advantage of the data logger of the Yocto-Serial.
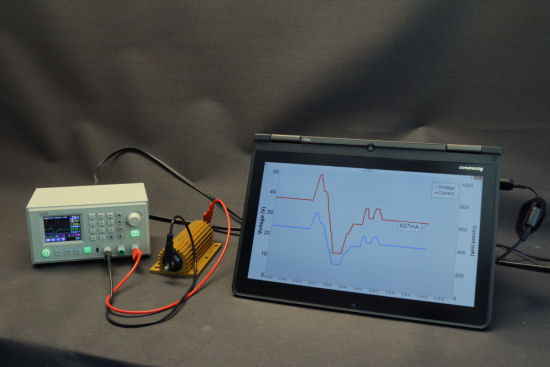
Making Yocto-Visualization work with the power supply? Easy!
We started to write a small Python library to drive the power supply. It's rather trivial code in so much as all the slightly complex work is performed automatically by the Yocto-Serial. You can download it here.
Problems and solutions
In this project, there are a few important items that you must be aware of:
- You must explicitly configure the internal communication port of the RD6006 in "TTL" mode so that it works. Its working voltage is 3.3V, don't configure the Yocto-Serial in 5V!
- The TTL serial port of the RD6006 works only since firmware 1.32 of the RD6006, so you may need to update its firmware.
- Make sure that the firmware of the Yocto-Serial is at least 41418. We added an improvement which manages conflicts when the API and an internal job are trying to make requests at the same time.
- When there is an active communication on the TTL port, the buttons on the front of the RD6006 are blocked. It's a limitation of the official firmware. But a certain UniSoft published on the EEVblog Electronics Community forum an alternative firmware which enables you, among other improvements, to work around this limitation.
Conclusion
We are overjoyed: we finally have a reasonably powerful power supply that we can easily drive with Yoctopuce libraries. It's something that we were missing so much that we seriously considered designing our own Yocto-PowerSupply module. Obviously, after adding the AC/DC converter and Yoctopuce modules, we transformed a power supply costing less than $100 into a device close to $500, but it's far from sure that we'd have found something this compact and efficient for less money on the market.


