![]() Yoctopuce sells dedicated enclosures for single and double-width modules. But you don't have to use them. This week, we share with you a few assembly tips that we use internally to quickly build module systems that are easier to handle than a tiny circuit board hanging off the end of a USB cable.
Yoctopuce sells dedicated enclosures for single and double-width modules. But you don't have to use them. This week, we share with you a few assembly tips that we use internally to quickly build module systems that are easier to handle than a tiny circuit board hanging off the end of a USB cable.
The ingredients
Many of our temporary systems are based on four main ingredients: spacers, headless screws, pot magnets and threaded inserts.
The spacers
As you may have noticed, Yoctopuce likes metal spacers. The electronics industry usually uses hexagonal spacers but we prefer round versions. In this case, the R30-500xx02 models from Harwin. In addition to being elegant, these spacers are thinner than the hexagonal models. They have an M3 internal thread along their entire length. Being machined and round, they can also be used as small rails or axes. They are available in different lengths and are distributed by both Mouser and Digikey.
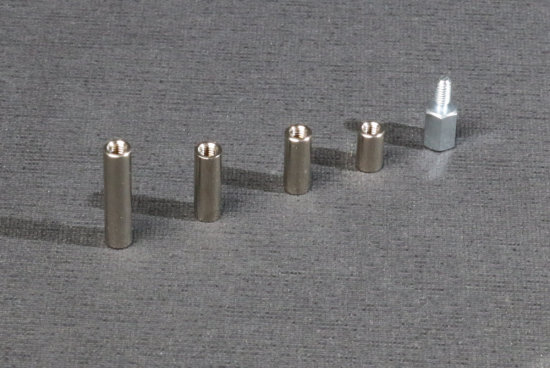
Some Harwin spacers next to a classic spacer
About spacers, metal or plastic?
You may have noticed that the double-width enclosures are sold with metal or plastic spacers and screws depending on the model. This is a safety measure: the plastic spacers are used in the enclosures for modules that can be connected to dangerous voltages: the Yocto-Watt and the Yocto-MaxiPowerRelay. In addition to being insulating, they are molded from a plastic material called PEEK which is resistant to heat.
Headless screws
Headless M3 screws are also used. They can be used to make spacers of arbitrary length by combining spacers of different lengths, but they can also be used to sandwich a plate between two spacers. The fact that the Harwin spacers are hollow along their entire length allows a screwdriver to be inserted and headless screws from moving while the spacers are being assembled. We bought ours from a Swiss distributor.
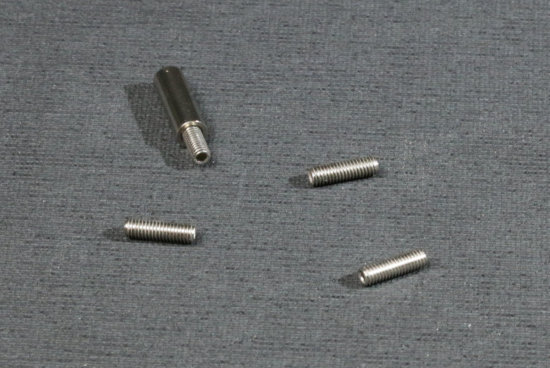
Headless M3 screws, which are screwed into the spacers
Pot magnets
In a residential environment, there are not many metal surfaces other than the fridge and washing machines. On the other hand, in an industrial environment, there is no lack of metal surfaces: machines, shelves, cabinets, and so on. And it is very convenient to be able to magnetically stick modules directly to the place where they are needed. The single-width module enclosures already have magnets, but not the double-width ones. Hence the interest of pot magnets. They are available in different sizes and shapes, including versions with internal or external threads.
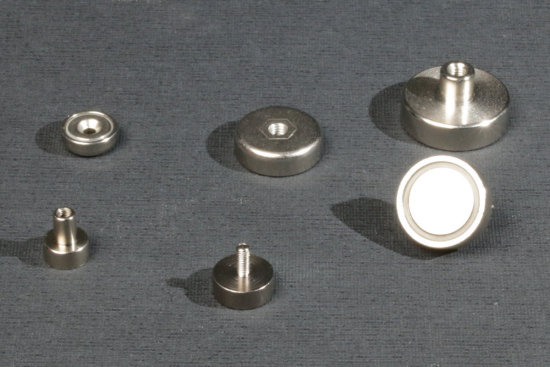
A few pot magnet models
We buy ours from a local dealer, but you can probably find them elsewhere. Don't be too ambitious: you'll have trouble getting the larger ones off the metal surface you put them on, perhaps inadvertently.
Threaded inserts
Threaded inserts are small brass rings with an internal thread. They are meant to be hot-placed into plastic with a soldering iron: you prepare a hole slightly smaller than the diameter of the insert and push the insert into the hole with a soldering iron. This allows you to get solid threads in plastic objects.We found ours at a Swiss reseller.
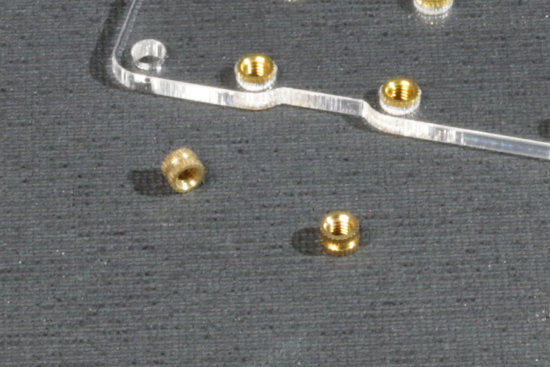
M2.5 threaded inserts
Applications
Spacers + headless screws + custom plates
When we need to protect a double-width module while keeping its buttons easily accessible, we mount it between two acrylic glass plates using spacers and headless screws. If there isn't too much dust, it's more than enough: we have a YoctoHub-Ethernet installed in such a case in 2013 that still works to this day.

Cheap enclosure
FixPlates + spacers + headless screws + pot magnets
You can make something similar with FixPlates and as a bonus add pot magnets. At Yoctopuce, all the modules that are used for API testing are mounted in a similar way and stored neatly aligned on a metal rack where everyone can come and take the one they need to do their tests.
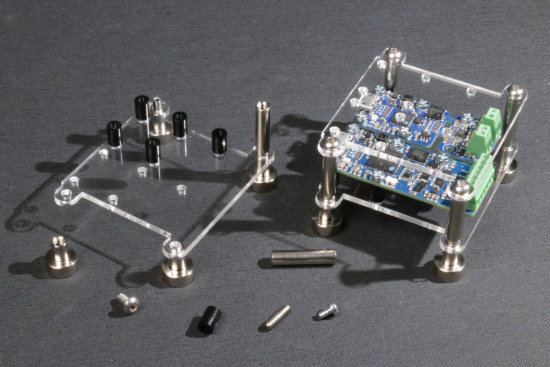
Cheap magnetic enclosure based on FixPlate
Double width enclosures + pot magnets
Unlike the single-width version, the enclosures for the double-width modules do not have integrated magnets. However, you can easily add them.
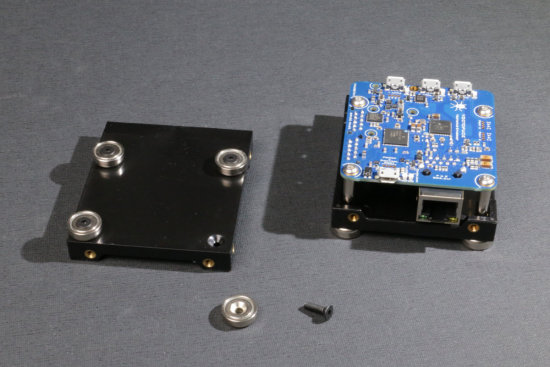
Magnets on double-width enclosures? easy!
Low-profile mounting
If space is at a premium, you can use threaded inserts to attach your modules directly to a plastic plate. Be careful that if the module has through-hole components that protrude below the PCB, such as connector tabs, you must make an opening in the plate for them.
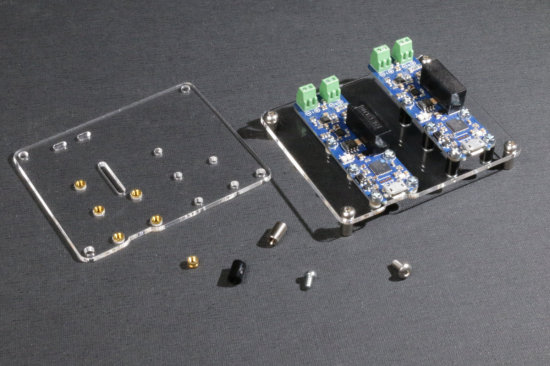
How to gain 7mm
Conclusion
Maybe these tips will inspire you the next time you have to do a little DIY based on our modules. We bought most of the small items presented in this post from Swiss retailers, but you can probably find them elsewhere, even if you have to buy them on Amazon or Alibaba.


