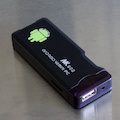
 Given the tremendous interest around the Raspberry Pi, it is surprising how few people speak about the Rikomagic MK802. Similarly to the Raspberry Pi, the MK802 is a small and cheap computer based on an ARM processor. At first sight, the MK802 seems to be a bit more expensive (around 80$, instead of 30$ for the Raspberry Pi). But this price includes a tiny enclosure, a power supply, wireless networking and required cables and adapters. So, beyond the price, what can you do with it?
As usual, we are interested in particular to use of the MK802 for building small automation systems interacting with our USB modules. We are not looking for a powerful home automation center, but rather to build piece by piece small embedded automation systems that are interconnected using an existing TCP/IP network.
We bought our MK802 from the Rikomagic MK802 family Store. The MK802 ships with a built-in Android image (on the internal flash). For sure we will get to it in more details in the future, as there are ways to drive USB modules directly from Java on Android. But for today, we will focus on the approach that will appeal to the most people, use a Linux image. We have already checked in the past that our modules work properly with ARM Linux, so this should not be an issue. But it is always best to check, as USB firmware bugs do exist...
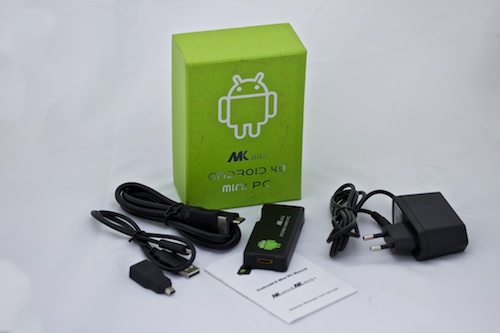
This is what Rikomagic MK802 looks like
Simply uncompress the Lubuntu 12.04 image provided by MiniAnd Tech and copy it to a microSD card (as described on this page) to start the MK802 in a familiar Linux environment (the default password is miniand). WiFi network configuration is straightforward, including WPA2 security, except for the DNS server address which does not comes automatically from DHCP in our case. Apart from this, it is easz to add any package you want using sudo apt-get install ..., including FireFox, that you should start with sudo firefox so that the process gets the proper access rights to work. Remote access using ssh works out of the box.
Our VirtualHub for ARM Linux works out of the box as well on the MK802. You can download it directly from our web site, or copy it using an USB stick. By the way, the MK802 works perfectly well with multiple USB devices simultaneously via a USB hub (keyboard, mouse, USB stick, Yoctopuce modules). Don't forget to put back the executable flag to the VirtualHub after copying it, and to start it with sudo VirtualHub so that it gets the proper access rights to access USB devices and open a network port.
To make sure that the VirtualHub is started everytime the MK802 is powered on, we copy it under /usr/bin and start it in /etc/rc.local using the following command line:
/usr/bin/VirtualHub -d -c /var/run/VirtualHub.dat -g /var/log/VirtualHub.log
From there, Yoctopuce modules can be driven through the wireless network, using the MK802 network address. Any existing software that you have written to work directly with USB modules will work transparently with modules connected through the MK802, simply by replacing the code line:
with something like
Built-in control logic can even be added directly on the MK802, as it is definitely powerful enough to run more software than just the VirtualHub. So far, so good, we could hardly hope for more than that!
Now have a look at how the MK802 can stand a simple real-life home automation application. Today's project is to provide remote control for the deck umbrella and lights, so as to be able to operate them from a reclining chair for instance, using an iPhone.
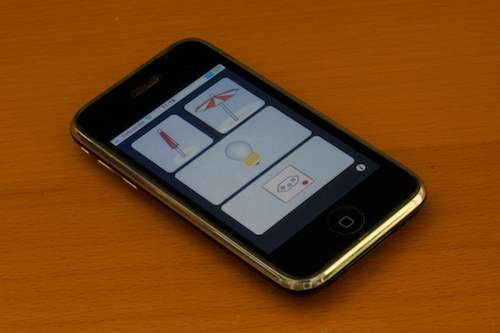
Is there an App for that?
Of course, there are already switches on the wall to open the deck umbrella and turn on the light. We are simply going to connect to them a few power relays to allow a remote drive. And here is where the siye matters: these switches are outside, on the deck, and we don't intend to add extra wires through the wall. Automation must reside near to the switches, in a small electric box. Here is what we can do with using a MK802, s Yocto-MaxiRelay, s Micro-Hub and a Yocto-Volt:
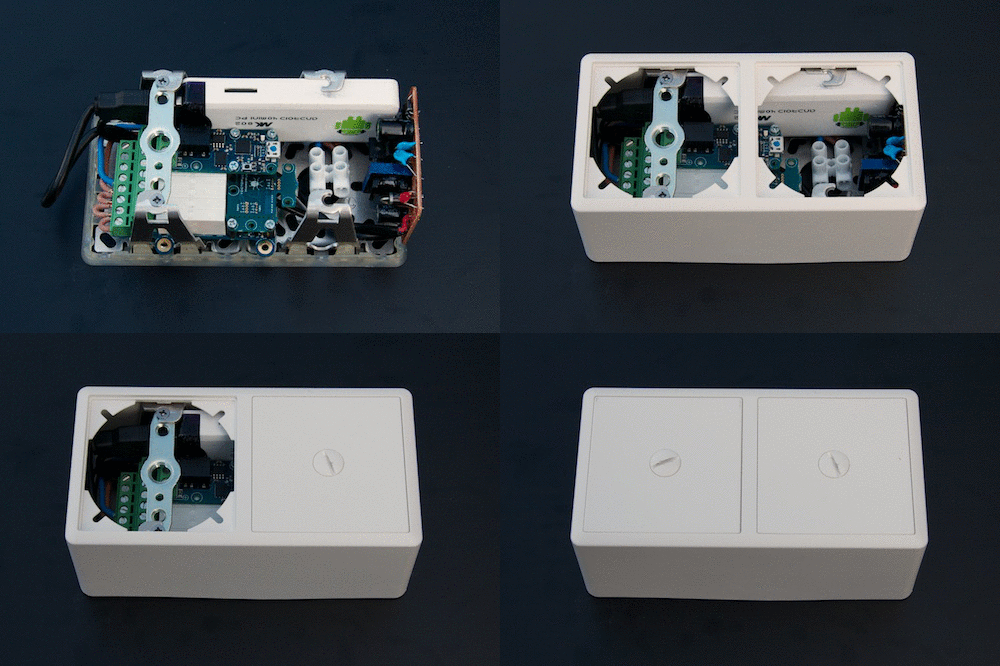
Looks a bit like a Tetris play, but everything fits in
The brown circuit board on the right is taken directly out of the power adapter provided with the MK802. It is very easy to extract, since the enclosure only has one screw. The Yocto-MaxiRelay would allow to automate 8 switches, while the Yocto-Volt makes it possible to know the state of deck lighting even when it has been toggled using a manual switch. Both are connected to the MK802 using a Micro-Hub connected to the MK802 USB Host port, using a standard micro-USB cable. The Micro-Hub is powered using the same power supply board as the MK802. Here is how the three Yoctopuce boards are mounted to each other, in a very compact form factor:
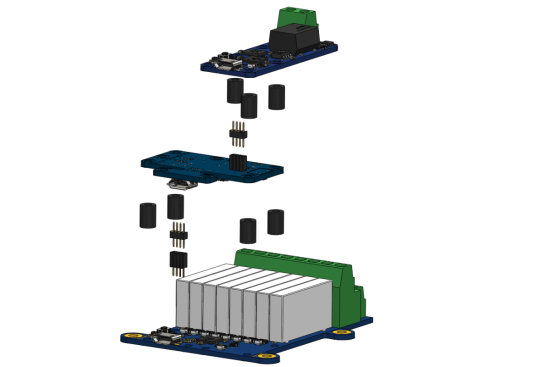
Assembling a Yocto-MaxiRelay, a MicroHub and a Yocto-Volt using our board-to-board connectors and threaded spacers
As shown on the picture above, there is even some space available for another module if one would really need it... But in reality, the MK802 power supply is a bit weak to power multiple modules in addition to the MK802, so if you do need more modules, you will have to add a more powerful USB charger than this one.
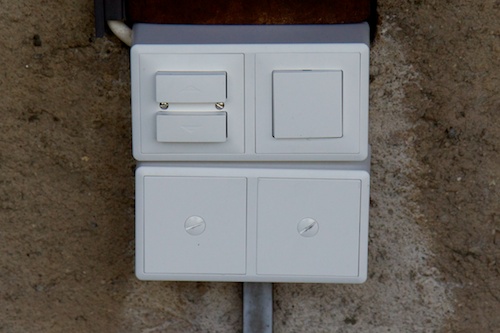
Here is the result, once mounted on the wall
Once the enclosure is closed, it does not look really great but at least everything fits in. And does it work as well ?
Huh, nope: the wireless connection is completely unreliable.
Our tests in the labs did not show any issue, but once the enclosure is mounted on the wall, the MK802 is not anymore able to keep a stable connection with the wireless access point, regardless of the position of the access point (and we tried hard...). May be we could have improved the situation by moving the MK802 in the box, but the would have required to completely reorganize the things in the box. The real problem is, there is no external antenna in the MK802. And this is really a pity, since this is most probably just what we would have needed to push this nice gadget everywhere. Too bad.
For now, we can only wait for the YoctoHub-Wireless to eventually show the tip of its antenna... external antenna, of course!
Edit: A few MK802 projects later, we have written another article giving a better insight on what is possible or not with the MK802 as an embedded automation controller.


