![]() The MIDI protocol, well known from all musicians, exists for almost thirty years. Although it was originally thought for keyboards, there are now all kinds of MIDI instruments: guitar, saxo, drums, etc. Most of the time, MIDI is used to record or drive an instrument, but would it be possible as well to use MIDI to drive a light show? Let's try...
The MIDI protocol, well known from all musicians, exists for almost thirty years. Although it was originally thought for keyboards, there are now all kinds of MIDI instruments: guitar, saxo, drums, etc. Most of the time, MIDI is used to record or drive an instrument, but would it be possible as well to use MIDI to drive a light show? Let's try...
The idea is trivial: connect a computer to a MIDI instrument, capture the MIDI events and toggle relays to flash a floodlight according to the note played on the instrument.

Let's try to play lights according to MIDI notes?
Hardware
On the paper, it is not very complex. In real life, this project requires some preparation and quite a bit of work to connect things together. The MIDI instrument that we have chosen is a drum. For the lights, we have bought 16 cheap 400W halogen floodlights on the Internet, for a few Euro each. These lights will be driven using 2 Yocto-MaxiRelay devices.
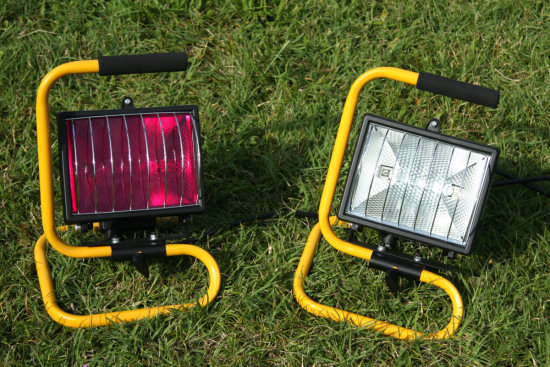
Floodlight with an added color filter for the light show
And two Yocto-MaxiRelay to switch them on and off
The only difficulty is to connect things properly: there are 16 floodlight to connets with the 2 Yocto-MaxiRelay. As you guess, in case all projectors are turned on simultaneously, the setup will require more than 6KW, or almost 30A. This is more than what you can get from a regular power outlet. We will therefore have to use a high-power three-phased connector as input, and dispatch each floodlight on one of the three phases. We also want to ensure that the whole setup is reasonably secure for outdoor use. We have therefore chosen to use a thick plastic box to put all cabling and electric components. This box will have a three-phased plug, a USB plug and sixteen standard 220V outlets to connect each of the floodlight.
Within the plastic box, there will be our two Yocto-MaxiRelay, a Micro-USB-Hub because we want only one USB cable going to drive our two Yocto-MaxiRelay, and a standalone 5V power supply to power the USB hub since a Yocto-MaxiRelay requires too much power to be driven from an unpowered hub.
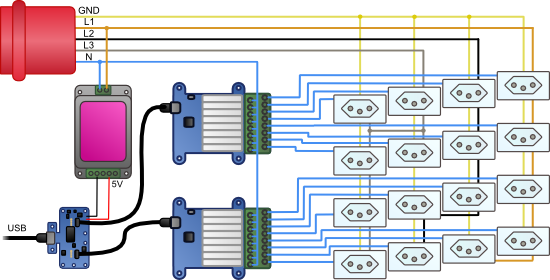
Looks a bit complex, but this is just a powerful USB-driven multiple outlet
After a return trip to the hardware store, we have everything needed to build our powerful USB-driven multiple outlet.
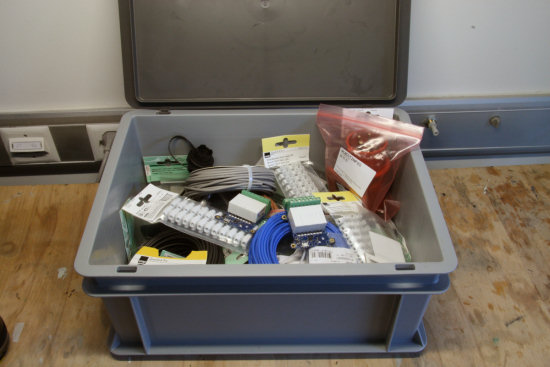
Everything is there, let's start
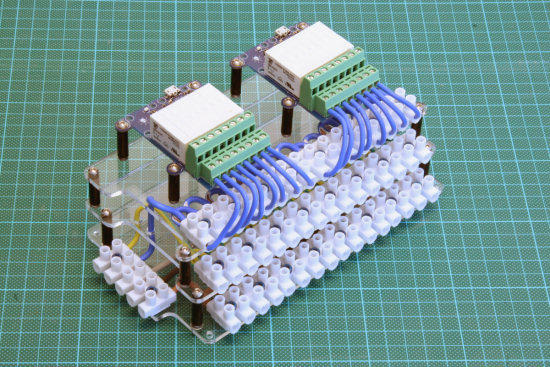
The power strips: one layer for the earth, one layer for the power and one last layer for the neutral
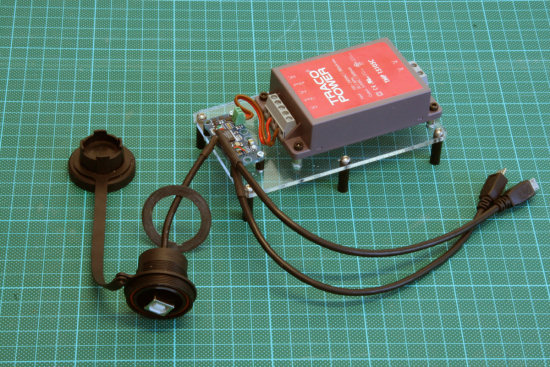
The USB hub and its external power supply
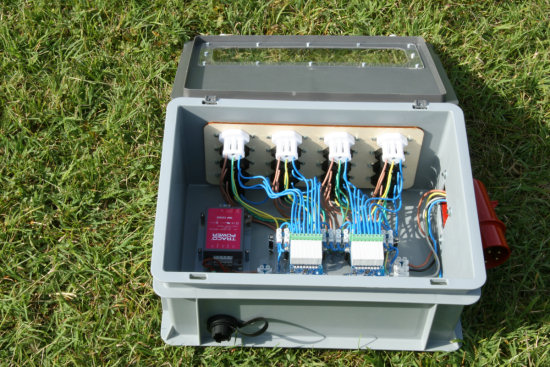
Everything fits in the box
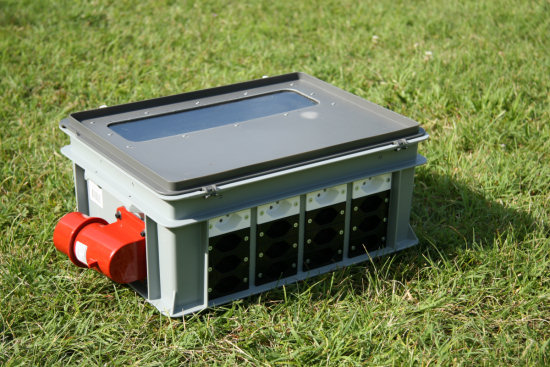
Here we are, ready for testing
Software
As unexpected as it might be, the software part is very simple. MIDI support is natively available in Windows since Windows XP. It is very easy to get a callback at every incoming MIDI event, including every note played. Driving relays is just a matter of two lines of code. We have chosen to implement this software in C#. Here are the two key functions of the project: hardware setup, and the MIDI callback.
{
// open Midi port
if (MIDI.InputPort.InputCount == 0)
{
m = null;
log("Cannot find MIDI instrument");
}
else
{ // sets the midi callback
m = new MIDI.InputPort(MidiProc);
m.Open(0);
m.Start(); // and start the capture
}
// use local Yocto-devices
string errmsg = "";
yAPI.DisableExceptions();
if (YAPI.RegisterHub("usb", ref errmsg) != YAPI.SUCCESS)
{
log("Error opening Yoctopuce API: " + errmsg);
return;
}
// enumerate all 16 relays functions
relays = new YRelay[RelaysCount];
for (int i = 0; i < RelaysCount; i++)
{
// we have assigned a logical name to each relay, in the proper order
relays[i] = YRelay.FindRelay("R" + i);
if (!relays[i].isOnline()) log("Relay R" + i + " is offline");
}
}
/*
* MIDI callback: each time a note is played, this callback will be called.
* We just have to activate the relays according to the note played.
*/
public void MidiProc(IntPtr hMidiIn, int wMsg, IntPtr dwInstance,
int dwParam1, int dwParam2)
{
if (wMsg != 0x3c3) return; // handle midi data only
if ((dwParam1 & 0xff) != 0x99) return; // handle notes only
int velo = (dwParam1 >> 16) & 0xff;
int note = (dwParam1 >> 8) & 0xff;
int channel = note % 16; // direct circular mapping
relays[channel].pulse(2 * velocity + 50);
}
If you want to try it at home, the whole project is available here. The full code is also capable to drive Yocto-Color and Yocto-PowerColor modules, which are a bit easier to handle than a 400W floodlight.
Once everything is ready, we wait for the night to come to see all this was worth the effort, or if we could have used a cheap sound-to-light modulator instead...
Acknowledgements
We have received quite a bit of external help for this project. Thanks to Jiri for filming, thanks to François for the sound recording and the MIDI drum. Last but not least, thanks to Harold for his performance on the drums !
Huh, thanks as well to our neighbors for not having called the fire brigade although we covered the neighbourhood with smoke...


