![]() Do you remember the USB desk lamp? This week, we present a WiFi version. It so happens that some new modules appeared since the time the making of the USB version, which make it quite easy to build this improved version.
Do you remember the USB desk lamp? This week, we present a WiFi version. It so happens that some new modules appeared since the time the making of the USB version, which make it quite easy to build this improved version.
We need two modules: obviously the YoctoHub-Wireless-SR, but also the Yocto-LatchedRelay.
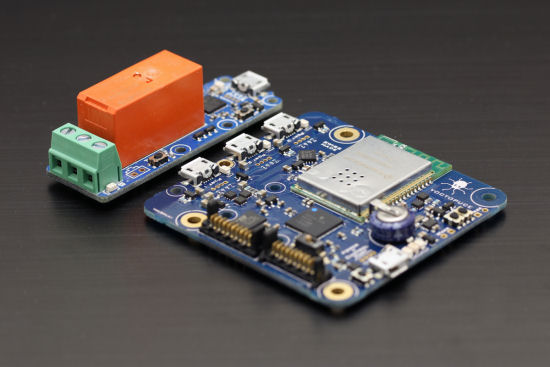
The Yocto-LatchedRelay and the YoctoHub-Wireless-SR
The Yocto-LatchedRelay
The Yocto-LatchedRelay is particularly well suited for this kind of tinkering. Being latched, this relay doesn't need power to maintain any of its two positions. Moreover, the module contains an input enabling you to switch the relay manually.
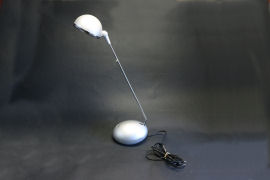
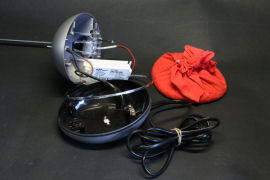
Can you drive this lamp through the Wi-Fi?

Architecture of a desk lamp
A modern desk lamp is usually made of a halogen or led bulb, a 12V transformer or a led driver, and a switch shutting off the power supply. The idea is therefore to modify the desk lamp by putting the Yocto-LatchedRelay upstream of the power supply, and by replacing the switch by a push button connected to the Yocto-LatchedRelay. Thus, simply pushing the button switches the relay and thus manually controls the lamp.
The YoctoHub-Wireless-SR
We could have stopped there and obtained a USB driven desk lamp much easier to build than the preceding version. However, we decided to drive the Yocto-LatchedRelay through a YoctoHub-Wireless-SR, allowing us to control the lamp from almost any computer connected to the network.

Improvement proposal
The last missing step is the power source. We need 5V to power the Yoctopuce part. We selected a small 1W AC/DC converter.
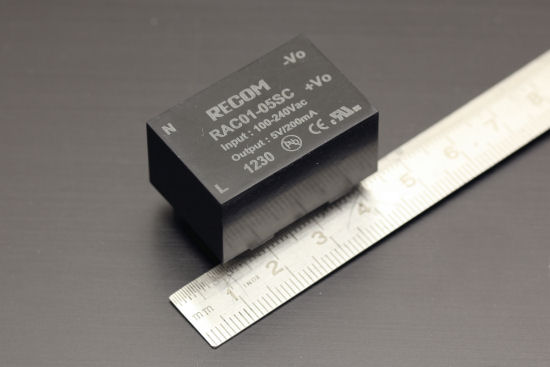
This tiny thing can produce 5V ~@200mA from alternative current
Assembly
In theory, assembling the lamp is a piece of cake. Actually, there are two main issues. Quite curiously, it's difficult to find a lamp with enough room in its base to host the Yoctopuce modules. The current trend seems to be for very slim lamps.
Moreover, wiring must be particularly neat. We selected a YoctoHub-Wireless-SR to avoid an external antenna. It so happens that switching an electric power supply with a relay can create enough parasites to perturb the WiFi card of the YoctoHub-Wireless-SR. Therefore, it's absolutely necessary to avoid putting the wires close to the YoctoHub-Wireless-SR antenna. And, if possible, we need also to avoid putting the relay too close to the YoctoHub-Wireless-SR. A snubber installed directly accross the led driver power input will also improve the situation.
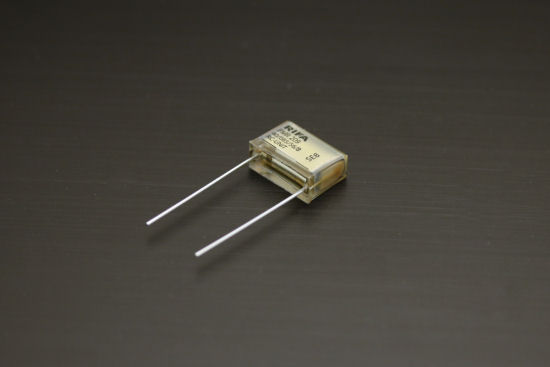
That kind of component might help you with electrom-magnetic perturbations
Note that the YoctoHub is able to restart its WiFi card automatically in case of error. Therefore a radio perturbation issue translates in the worst case into a temporary loss of connectivity of a few seconds, but we might as well avoid problems.
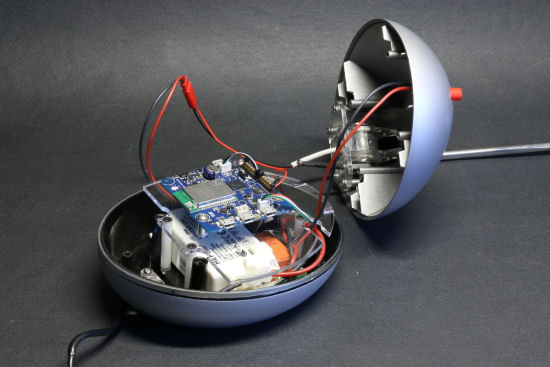
The lamp content, Yoctopuce version
The software
When the lamp is assembled, there are two methods to control it: either directly, which implies that you can control it only locally because of NAT filters, or with the HTTP callback API, which is the solution we selected. Regularly, the lamp connects itself on a server, notifies it of its current state, and asks what it should do. The server offers also a very simple web page enabling us to know the state of the lamp and to modify it. You can find the code of the PHP implementation here. Here is a short video showing the lamp when it is working:
Conclusion
We deliberately kept this project as simple as possible, but you can add some improvements: the relay functions pulse and set_maxTimeOnStateB allows you to automatically limit the time during which the lamp stays on. There is also two empty ports on the YoctoHub-Wireless-SR, you could use one to connect a Yocto-Light and thus build a somewhat credible presence simulator.


