![]() We didn't have the chance to discuss about it until now, but the Yocto-Display and the Yocto-MaxiDisplay both include six analog inputs. Long story short, they feature the equivalent of a Yocto-Knob. This week, we explain how to use these inputs to interface a numeric keypad to build an access control device.
We didn't have the chance to discuss about it until now, but the Yocto-Display and the Yocto-MaxiDisplay both include six analog inputs. Long story short, they feature the equivalent of a Yocto-Knob. This week, we explain how to use these inputs to interface a numeric keypad to build an access control device.
For this project we will use a cheap keypad (~10 EUR), connect it to a Yocto-Display and make an access control device out of it. Believe it or not, this is dead easy.

A cheap keypad
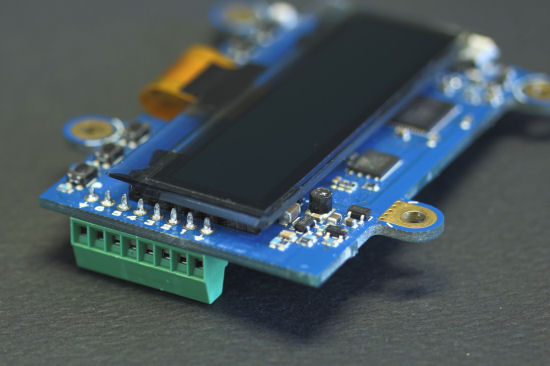
The Yocto-Display analog entries. We have soldered a connector for convenience.
Hardware part
Those keypads have a matrix-like wiring. When one of the keys is pressed, a connection is made between a row and a column. So to find out which key is pressed, we need to detect which wires are connected together.

The keypad is just a push-button matrix
The six anButton functions are analog inputs, meant to detect resistance variations. To detect connections between rows and columns, we just connect the row wires directly to the Yocto-Display inputs, then add 2.2K, 4.7K and 10KΩ resistors on the column wires and connect them to the display ground. That way, each key press will produce a specific resistance change on one of the Yocto-Display inputs.
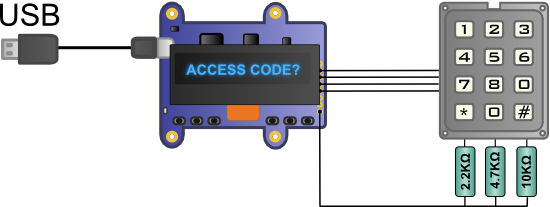
Wiring between the keypad and the Yocto-Display
The electronic electric part is over. All we need to do is to mount it in a nice enclosure and start the programming part.

A nice enclosure wouldn't hurt
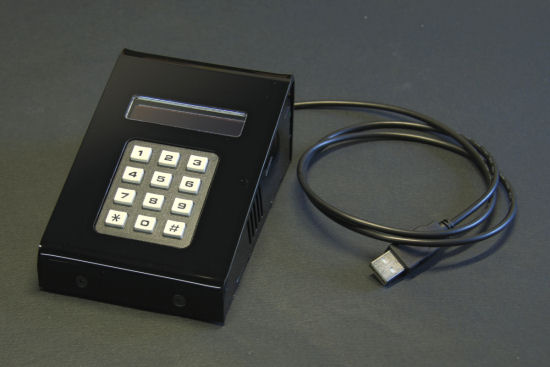
Much, much better
Programming
We chose Python for the programming part. The main idea is to work with a callback function. That function will be called automatically each time a resistance variation is detected on one of the Yocto-Display entries. Then we will have to find out which key was pressed.
for i in range(5):
b = YAnButton.FindAnButton(serial+'.anButton'+str(i+1))
if not(b.isOnline()): sys.exit("anbutton"+str(i+1)+" found")
# reset calibration, just in case
b.set_calibrationMax(4095)
b.set_calibrationMin(0)
# no need to be too sensitive
b.set_sensitivity(550)
# when a button value change, the anButtonChange function will be called
b.registerValueCallback(anButtonChange)
There is one difficulty however. When a key is pressed, the resistance change is not instantaneous and the anButton inputs are fast enough to report intermediate values. Therefore, when we detect a change in the measured resistance, we store the value and keep monitoring it until the button is released. We can then use the lowest reported value to find out which key was pressed.
global lastfunction
global lastvalue
table ="#0*987654321"
fctname = str(fct)
v = int(value)
# the button index is the row
buttonindex= int(fctname[-1:])-1
if fctname == lastfunction:
if (v >900) : # keypad key went back to released position
if (lastvalue <200) : i = 0 # the lowest value is the column
elif lastvalue<330 : i = 1
elif lastvalue<500 : i = 2
# compute keypad key index in the table
index = buttonindex*3 + i
# a key was pressed, let's notify it
buttonPressed(table[index:index+1])
# reset
lastfunction = ""
lastvalue = 0
else: # store minimal value
if v < lastvalue: lastvalue = v;
else:
if v < 500: # store function name and value
lastfunction = fctname
lastvalue = v
Those were the two most interesting parts of the code. Other parts are just for display manipulation and handling the access code once it has been entered. You can download the whole source code from here. It's pretty compact: less than 150 lines.
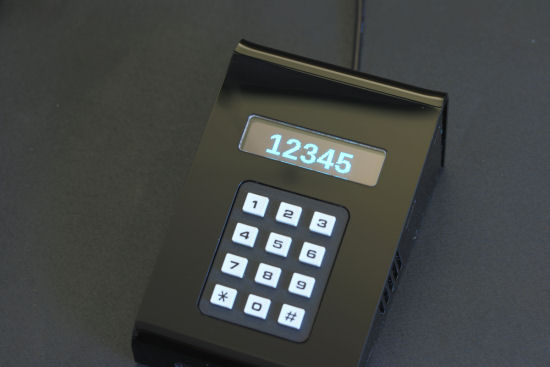
Et voila! a DIY access control keypad
Ethernet version
You might not like the idea of wiring USB cables up to the place where you need your access control device. Why not adding IP connectivity using a YoctoHub-Ethernet? Cherry on the top, since the YoctoHub-Ethernet supports PoE, the device will be powered by the Ethernet wire.

Let's add a YoctoHub-Ethernet
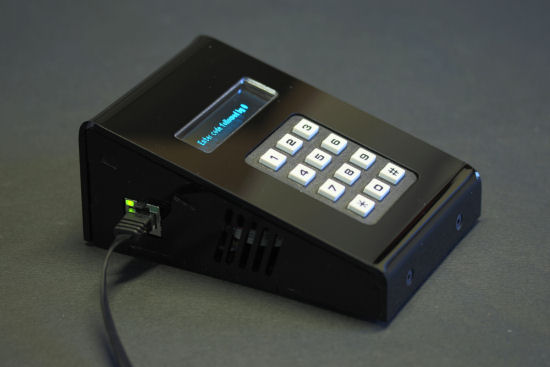
And we get a Ethernet access control device, PoE compliant
From the programming point of view, nothing changes. We just need to add a RegisterHub call with the proper IP address.
sys.exit("YoctoHub-Ethernet init error"+errmsg.value)
That's it, case closed. Here is a short video showing the keypad in action.


