![]() If you're interested in autonomous weather measurement stations, you may have wondered how to build a digital pluviometer. You probably though about a complex solution based on a container and water level detectors. Actually the solution is much simpler, you can even do it yourself...
If you're interested in autonomous weather measurement stations, you may have wondered how to build a digital pluviometer. You probably though about a complex solution based on a container and water level detectors. Actually the solution is much simpler, you can even do it yourself...
Inner workings
Automatic pluviometers are based on tilling buckets. Rain is collected with a funnel and poured on a some kind of seesaw. As soon as one bucket is full, its weight makes the seesaw tilt. The other bucket will start to fill as the first one will emptying. Therefore, we only need to count the seesaw tilts to know how much water went through the pluviometer.
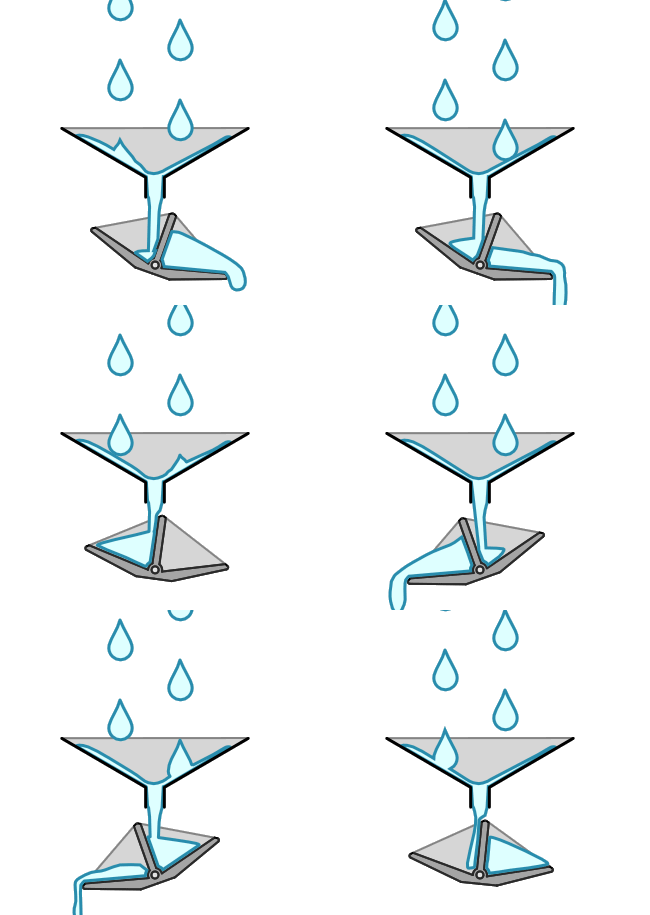
Automatic pluviometer principle
How to build one
We used our 3D printer to create our pluviometer. The mechanical part is not very complex. The only thing which must be carefully designed is the seesaw geometry. It must allow one bucket to be filled as the other one is emptying. It shouldn't be too big or we would loose precision. It shouldn't be too small of water surface tension would jam the mechanism.
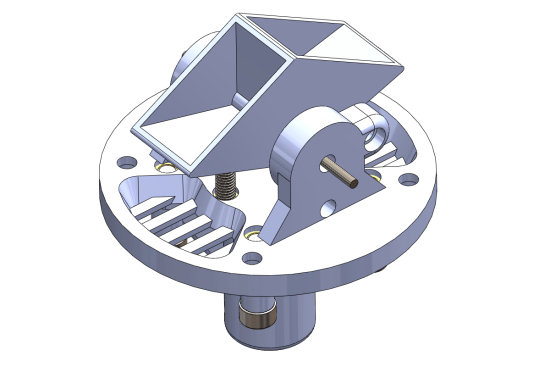
The pluviometer mechanical part

The same, for real
The seesaw might need some tuning, that's why we added two headless screws. These can act as stops to make the seesaw tilt more easily.
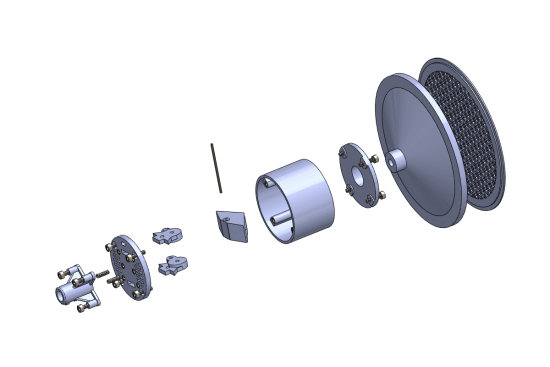
The pluviometer parts
Tilting is detected with our favorite technique for mechanical movement detection: a powerful Led, a photo-transistor and a Yocto-Knob. The Led lights up the photo-transistor, but when the seesaw crosses the light beam, the photo-transistor resistance changes. This can be detected by the Yocto-Knob. The Yocto-Knob can even automatically count the number of changes during a given time.

Wiring with a Yocto-knob .
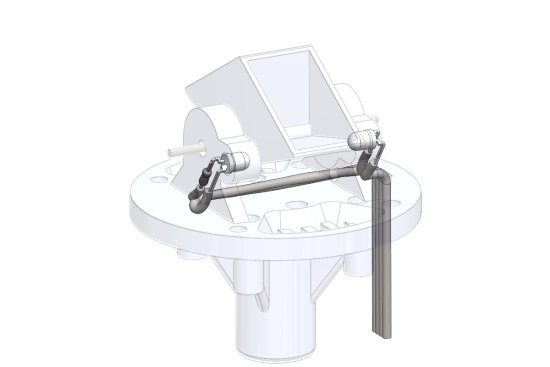
Wiring inside the pluviometer
The funnel on of top the pluviometer has been printed for the sake of having a fully printed pluviometer. Actually a funnel bought from the nearest hardware store would probably do much better as it would be smoother and non porous. We would like the rain drops going through the funnel as smoothly as possible. A grid on top of the funnel is mandatory, or you will soon find autumn leaves and slugs jamming your mechanism.
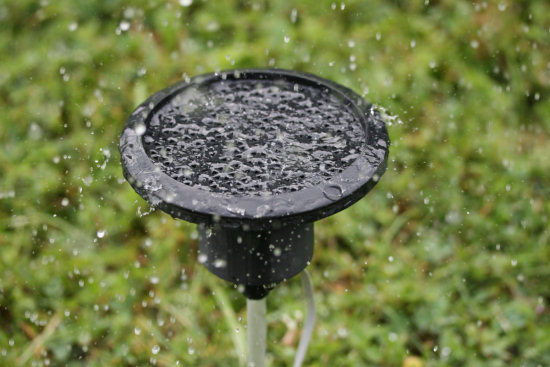
We will soon find out if the weather is as bad as we think it is
Here is a short video about the inner workings of the pluviometer.
Usage
Calibration is quite simple. We only need to pour a known quantity of water inside the pluviometer, and count how many tilts this causes. Knowing the funnel collecting surface area, we can compute how much water a single tilt represents. We counted 295 tilts for 300ml. The funnel diameter being 10cm, one tilt represent a rainfall level of 0.13mm. Here is a small python program computing rainfall level every hours.
from yocto_api import *
from yocto_anbutton import *
errmsg=YRefParam()
# Setup the API to use local USB devices
if YAPI.RegisterHub("usb", errmsg)!= YAPI.SUCCESS:
sys.exit("init error"+errmsg.value)
# We assume the Yocto-Knob channel connected to the rainmeter
# is named "RainMeter" (logic name)
channel = YAnButton.FindAnButton('RainMeter')
if not channel.isOnline() : sys.exit('No "RainMeter" channel found')
print("Running")
# The Yocto-Knob features a state change counter
channel.resetCounter()
while True:
time = channel.get_pulseTimer()
if time>=3600*1000: # one hour elapsed
flipcount = channel.get_pulseCounter()
channel.resetCounter()
print("Rainfall level for the last hour: %.2f mm " % (flipcount * 0.13))
YAPI.Sleep(1000)
Conclusion
Since the anemometer and the wind wane cases have already been covered, I think that pluviometer completes the matter. Now you can build your very own meteorological station. You will find the 3D part for this device on Thingiverse. Have fun.


