![]() Among the accessories available for the Raspberry Pi, the TFT touch display is quite interesting. By combining it with a dedicated enclosure, one gets a tiny all-in-one computer, well suited to monitor various sensors. We like it even more since our YoctoVisualization app now runs on Linux :-) There is only one minor issue with it: brightness control...
Among the accessories available for the Raspberry Pi, the TFT touch display is quite interesting. By combining it with a dedicated enclosure, one gets a tiny all-in-one computer, well suited to monitor various sensors. We like it even more since our YoctoVisualization app now runs on Linux :-) There is only one minor issue with it: brightness control...
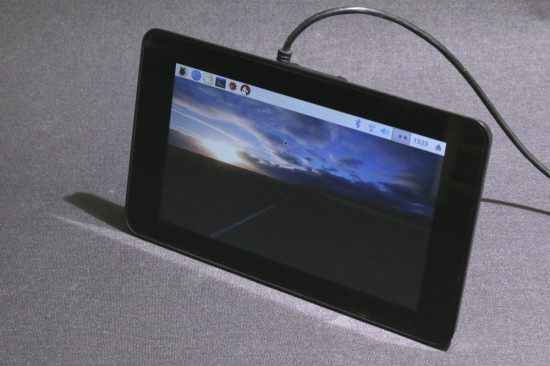
Can we have the display brightness auto-adapt to ambiant light ?
When you install this display in a room, you will soon notice that during the night, the backlight is strong enough to radiate a freaky light halo. So we wondered if it wouldn't be possible to modify this display so that the brightness automatically adjusts to ambiant light. That would require adding a light sensor, but luckily, we have plenty of them at Yoctopuce.
Hardware
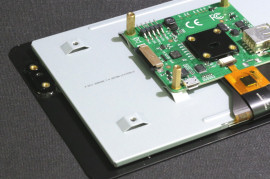
We could leave the light sensor hanging on a short USB cable, but to make it nice-looking we wanted to have it embedded directly into the display. So the trickiest part of this project is to make a small opening in the front panel of the display. This front panel is made of transparent plastic, with the back side painted in black. So our idea is to remove just a bit of black paint in order to make a tiny round window for the sensor. In order to do so, we have glued a small round piece of sand paper on a screw head, put the screw into a drill and used that tool to strip the black paint. A perfect result was obtained in a matter of seconds.
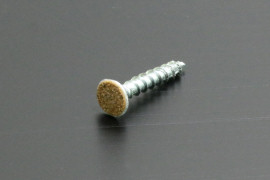
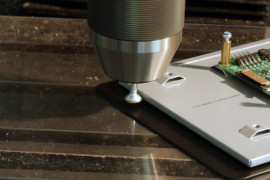
Express paint stripping
Note that the the drill must turn very slowly to prevent the plastic from melting. After this operation, a tiny black dot may remain at the center of the circle, but you can remove it easily by scratching it carefully using the tip of a X-Acto knife .
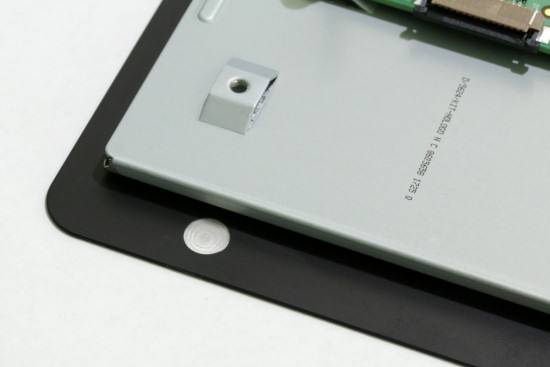
A good looking round
In order to measure ambiant light, we chose to use a Yocto-Light-V2 because it is more sensitive in very low light environments than the Yocto-Light-V3. We have split it in two parts, because there is just enough space for the sensor part on the side of the display. To make the build cleaner, we have glued with epoxy resin two pieces of acrylic glass with threaded inserts: one on the side of the display just in front of the round window, and one in the middle of the display PCB. This way, both parts of the light sensors can be mounted with standard screw.
The electronic part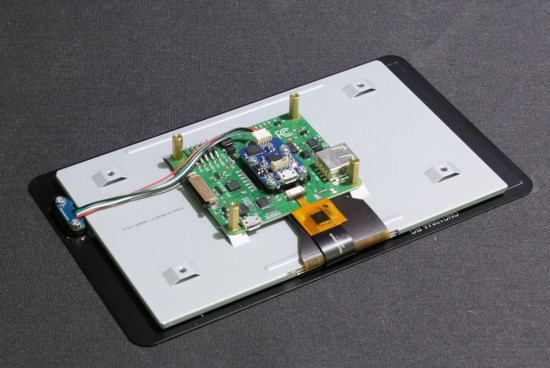
We have connected the sensor to the Raspberry Pi by soldering the wires of a 1.27-1.27-11 cable directly under one of the USB terminal block. The corresponding USB socket has been voided using a 3D-printed fake USB dongle. Eventually, we had to cut off two of the enclosure reinforcement bracings in order to close it.
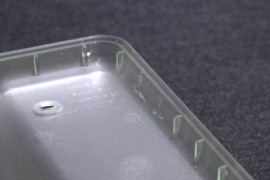
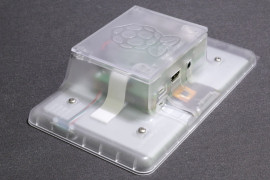
We had to slightly adapt the enclosure
Once completed, this little hack made in less than two hours looks pleasantly. One can barely guess that there is an added light sensor.
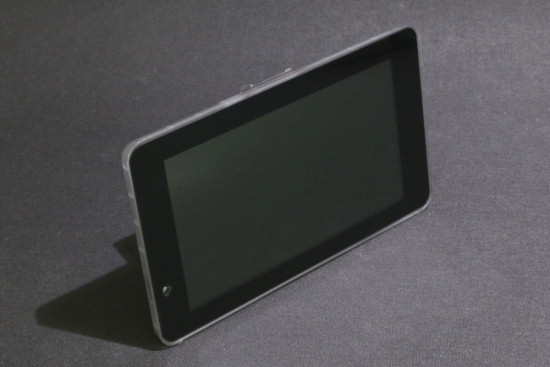
A Raspberry Pi display with built-in light sensor
Software
The display brightness can be changed simply by writing an integer between 0 and 255 into the file /sys/class/backlight/rpi_backlight/brightness. By default you must be root to write to that file, so we added a line to authorize this into /etc/udev/rules.d/51-yoctopuce.rules which already authorize any user to work with Yoctopuce devices.
# udev rule to allow write access to all users for Yoctopuce USB devices SUBSYSTEM=="usb", ATTR{idVendor}=="24e0", MODE="0666" # udev rules to allow write access to all users for RaspberryPi 7" Touch Display SUBSYSTEM=="backlight",RUN+="/bin/chmod 666 /sys/class/backlight/%k/brightness"
We have installed Yoctopuce VirtualHub on the Raspberry Pi and made sure that it starts on startup, using to system-D
Then we have written a small script that looks for any light sensor, and registers a callback to recompute the desired brightness based on ambiant light. To make sure the display will not flash each time someone moves in front of the display, brightness changes are only applied by increments of 1 every 5 ms.
# -*- coding: utf-8 -*-
# import Yoctopuce Python library (installed from PyPI)
from yoctopuce.yocto_api import *
from yoctopuce.yocto_lightsensor import *
target = 128
current = 128
def lightChange(sensor,value):
global target
target = int(float(value))
if target>255: target=255
if target<10: target=10
errmsg = YRefParam()
if YAPI.RegisterHub("127.0.0.1", errmsg) != YAPI.SUCCESS:
sys.exit("RegisterHub error" + str(errmsg))
sensor = YLightSensor.FirstLightSensor()
if sensor == None:
sys.exit("No light sensor available.");
sensor.registerValueCallback(lightChange)
while True:
YAPI.Sleep(5,errmsg)
if (target!=current):
if (current<target):
current = current+1
else:
current = current-1
file = open("/sys/class/backlight/rpi_backlight/brightness","w")
file.write(str(current))
file.close()
That's it. And it works:
Last remarks
These Raspberry Pi displays are delivered with a protective sheet stuck to the front. Keep it in place until your DIY work is completed, to avoid making scratches on the display while you work on it.
You may have noticed that we communicate with the Yocto-Light-V2 through the VirtualHub. This is to avoid locking USB access for any other Yoctopuce applications.
By default, the Raspberry Pi display turns off automatically after a few minutes. Apparently the simplest and most reliable way to disable this behavior is to install a screensaver:
sudo apt-get install xscreensaver
... then to disable it.


