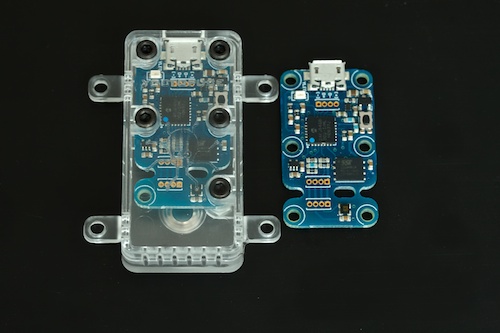
 All of our USB sensor modules perform their measurement with the help of digital sensor chips, which are factory calibrated. It's our recipe to guaranty the announced precision of our modules, even when the sensors are moved away. However, we have recently introduced in all our sensor modules an additional adjustment function, allowing your to perform a correction to the measures on the fly. So, what's the need to correct a measure if it is already good? Doesn't this recalibration risk to reduce the measure precision rather than to enhance it?
Let's be clear: We are not going to physically change the original parameters of the digital sensors, but only to add a numerical correction (transformation) to the value returned by the sensor. Although performed in the module, the transformation is a purely software matter and completely reversible.
The main reason to correct the sensor chip measure afterwards is to integrate, to the value returned by the module, a physical reality external to the sensor. For instance, if you put a Yocto-Light in a transparent enclosure, the value returned by the light sensor chip is slightly lower than the actual surrounding light because part of the light is absorbed by the enclosure. However, as the proportion of the light absorbed by the enclosure doesn't change, we only need to "teach" the module the correspondence between the gross value returned by the sensor and the physical value to obtain an automatically corrected value.

The value returned by a luxmeter in an enclosure is slightly altered, but it can be corrected by the module itself
The correction is configured in the module by simply indicating the correspondence between the gross value and the corrected value for one or several measure points. When only one correction point is given, the correction applied is a simple shift. When several points are provided, the correction is automatically interpolated between the points:

Impact of a linear correction with 1, 2, and 5 points
The Yoctopuce module is able to compute itself, in an autonomous way, the linear interpolation of the correction, which is stored in its flash memory. If you require a more subtle interpolation function, you can store, in the programming API, your own correction function (using for instance a quadratic or a spline interpolation).
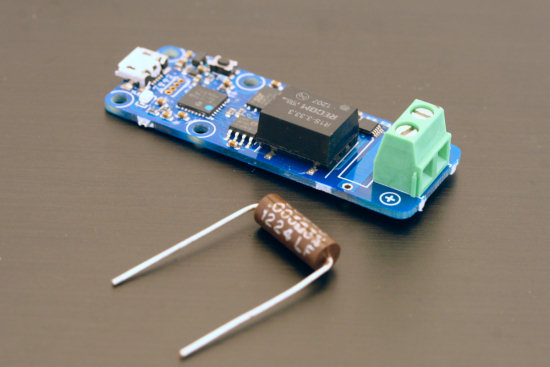
This correction mechanism can be used for other purposes as well. For example, let's assume that you bought a USB ammeter Yocto-Amp, specified for max 10A continuous (17A in peaks) because of the heating of the shunt through which goes the measured current. You want to increase its measuring range, even if it decreases slightly its precision with low currents. Let's have a look at how to do this...
In an ammeter, the sensor measures the tiny potential difference at the terminals of the shunt and deduces the current with Ohm's law, I = V / R. If you replace the 0,01 Ohm shunt with an even lower resistance of 0,005 Ohm (which heats twice less), you can put more current through the ammeter, but the value returned is reduced by half with regards to reality. This can be fixed by the calibration mechanism.

In order to transform a Yocto-Amp 10A into a YoctoAmp 20A, you need a 0,005 Ohm resistor

Remove the original resistor

and replace it with the new one
You only need to provide the two corrected values at the ends of the measuring range for the module to take into account the new resistance and to return correct values again. This calibration is stored in the flash memory of the module, so you only need to do it once. Here is the calibration code, in Python: it simply says to the module that the values -16000mA and 16000mA must be transformed to -32000mA and 32000mA respectively. The module will take care of deducing intermediate values.
from yocto_api import *
from yocto_current import *
errmsg = YRefParam()
if YAPI.RegisterHub("usb", errmsg) != YAPI.SUCCESS:
sys.exit("init error: "+errmsg.value)
# Look for a specific Yocto-Amp
serial = 'YAMPMK01-00001'
yoctoamp = YModule.FindModule(serial)
if not yoctoamp.isOnline():
sys.exit("Yocto-Amp module not found!")
# Rescale DC measure
dc_ammeter = YCurrent.FindCurrent(serial+'.current1')
print("Raw measure: "+str(dc_ammeter.get_currentRawValue()))
dc_ammeter.calibrateFromPoints([-16000,16000], [-32000,32000])
print("Scaled measure: "+str(dc_ammeter.get_currentValue()))
# Rescale AC measure
ac_ammeter = YCurrent.FindCurrent(serial+'.current2')
print("Raw measure: "+str(ac_ammeter.get_currentRawValue()))
ac_ammeter.calibrateFromPoints([-16000,16000], [-32000,32000])
print("Scaled measure: "+str(ac_ammeter.get_currentValue()))
# Save changes to device flash
yoctoamp.saveToFlash()
Be aware that using a lower resistance reduces by half the precision of the measures with very low current (resolution is only about 4mA), which explains why we used 0.01 Ohm in our product. Naturally, the measure precision depends also directly on the resistance precision, which must be guarantied at 1% to obtain a measure at 1% with the code above. Obviously, if you have an Ohmmeter or another precise enough ammeter, nothing prevents you from buying a cheaper, 5% resistance, and to integrate an additional calibration in the correction performed by the module...


