We already discussed home-made weather stations in our blog, but none before had this "pagoda" design or used this messaging protocol. That's why we are writing a new post. The aim of this "low cost" weather station is to build it with materials as basic as possible
The pagodas are made with plastic plates. We are well aware that not everyone has a 3D printer, so not everyone will be able to reproduce the base structure of the station. You'll have to improvise and find a waterproof enclosure which can host all the electronics. We opted for an enclosure that we printed in its entirety as this gave us complete freedom on its shape and on the pieces that we wanted. The files are obviously available on Thingiverse.
As said in the title, we are going to use Node-Red to display the data, but also MQTT as messaging protocol.
Hardware
The equipment of this weather station includes:
Design
There is a large number of weather stations built with this type of design, so we decided to base the structure of our station on the same principle.
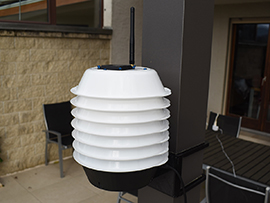
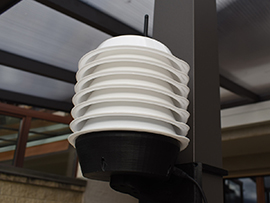
Views of the station
Indeed, these pagodas enable us to preserve the sensors from the rain, without perturbing the measures as the plates allow a good air circulation. In short, it is as if the sensor was out in the open, but sheltered from weather conditions which could bring trouble.
Mounting the electronics
Here is the stand which is going to host the electronic boards later on. The boards are positioned vertically so that if some humidity enters the enclosure, its condensation will drip to the bottom of the enclosure instead of stagnating on the electronics. For a more durable mounting, we used M2.5 threaded inserts for the modules, and M3 ones for the hub.
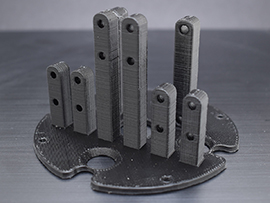
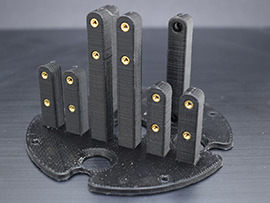
The stand for the electronics
To avoid connections within the station between connectors and USB cables, which would take way too much room, we used 1.27-1.27-11. They are connectors to the 1.27mm pitch and they enable us to remove the USB cables in this case.
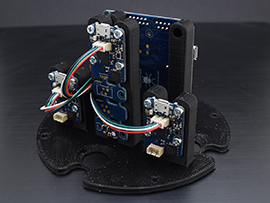
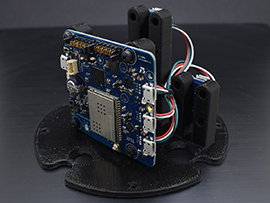
The electronics on its stand
Here is the removed sensor of the Yocto-Meteo-V2. The later was moved away from the remainder of the circuit as the other part of the circuit contains the processor and other components which can heat up and therefore perturb the measures. Moreover, it was safer to expose only the sensor and not the whole module to the weather. The sensor is on a printed stand and screwed with threaded inserts.
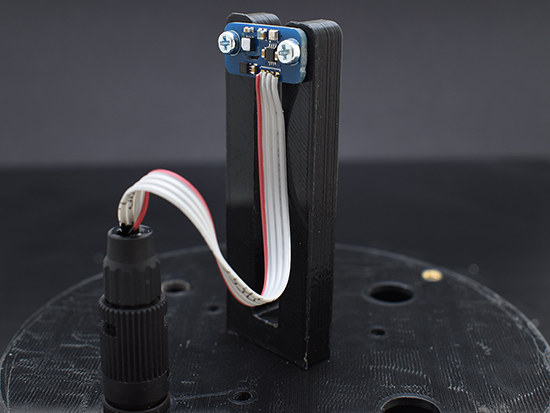
The removed sensor
Finally, here is the light sensor, the Yocto-Light-V3, removed as well. This sensor must be exposed directly to be able to provide a correct measure of the luminosity. Therefore, we decided to cast it directly into inclusion resin (such as Super SAP CCT), with its previously printed holder. On top of this, we added some liquid insulant as some contacts were still visible.
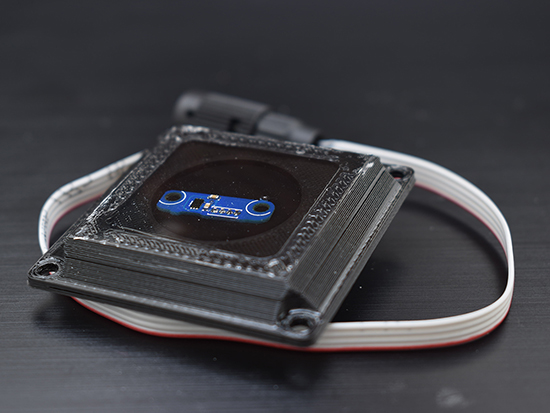
The removed sensor, trapped into resin
We used connectors from the Binder brand to ensure the connection between the electronic enclosure and the removed sensors. We used these connectors in another outdoor project, and they seem to resist well to weather conditions. There are different varieties of these connectors, but they are especially practical because there are varieties with different numbers of pins for the same plug size.
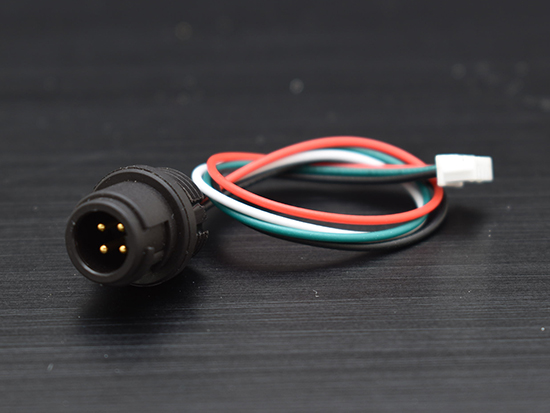
The Binder connector and the 1.27mm connector
The stand is mounted in the enclosure with 4 M3 screws, that's what it looks like:
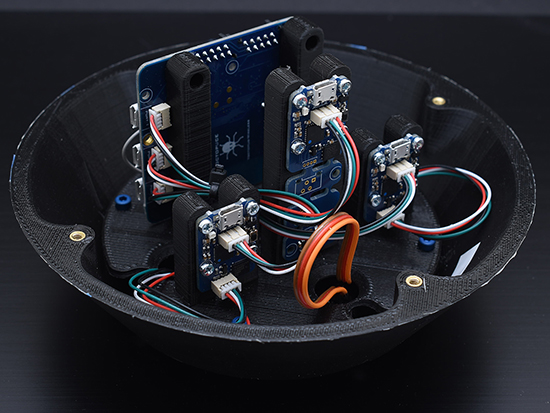
The electronics at the bottom of the enclosure
Waterproofing
As any 3D printer owner knows it, printed PLA is porous and won't hold water. As there is no solvent to smooth out the printing and therefore make it waterproof, we decided to perform a few tests. We then printed a small glass, with we coated with synthetic varnish.
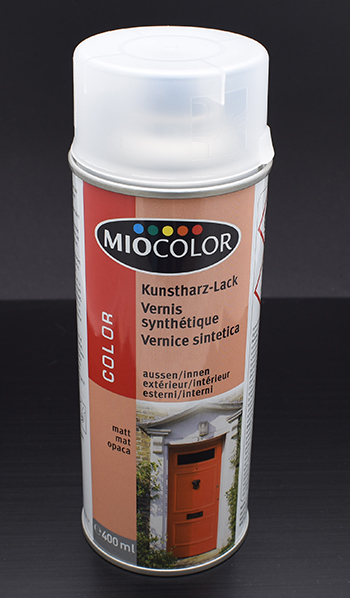
The synthetic varnish that we used
After applying 4 to 5 layers with this spray, we managed to obtain a waterproofing of our printed glass for at least 5 hours. We obviously don't need perfect waterproofing, as the station shouldn't be submerged in water, but we need rain to stay outside the enclosure. With our varnish, the enclosure should resist normal weather conditions. On top of providing protection, you can sand down the varnish between layers for a cleaner rendering of the printing. To validate our test, we put a Yocto-Meteo-V2 in the enclosure in order to compare humidity inside and outside the enclosure.
Mounting
Before starting to mount the station, we had to cut the plates. To do so, we used templates that we put on the plates before cutting them with a hand-held milling machine. Here are the templates:
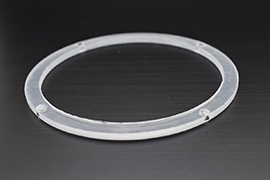
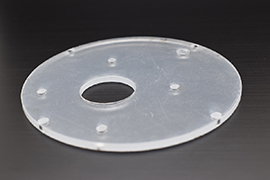
Templates used to cut the plates
To space the plates and hold the structure of the station, we used 20mm spacers:
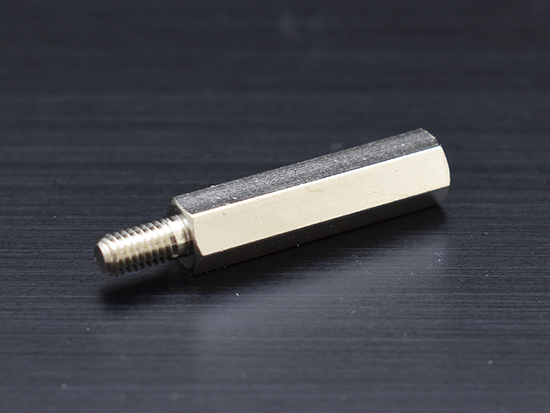
The spacer used to space the plates
Here is an animation showing how we assembled the station:
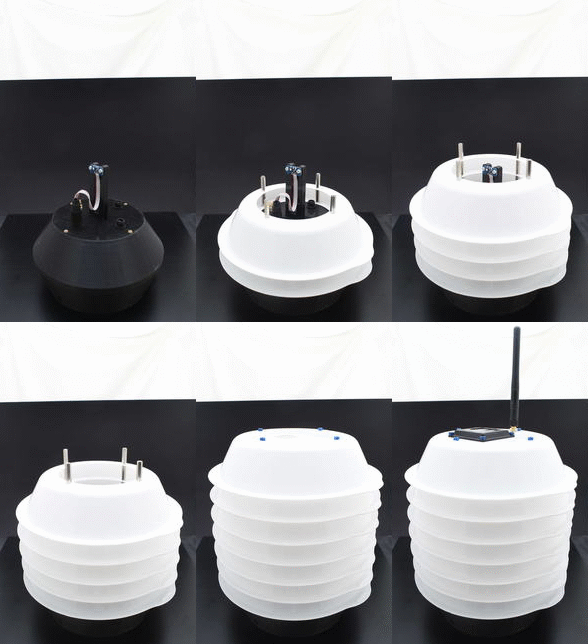
Animation of station assembling
As explained earlier in this post, we used threaded inserts for each tightening, for more reliability.
Installation
The weather station will be set up outside, against a pergola pole. We designed a holder that we printed, to hold the station against the pole:
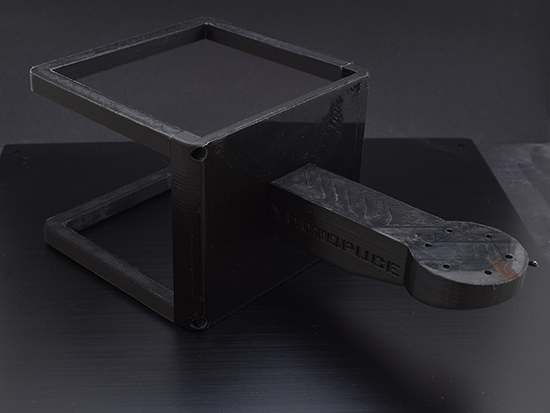
The station holder
The two "U" shaped pieces tighten against the pergola pole, so that the station stays in place without having to bore holes into the pole.
Software
We want to use the MQTT communication protocol to send messages to our web server for display. To do so, we already wrote a post about hubs and the MQTT service. Indeed, Yoctopuce hubs can directly publish data from sensors on MQTT. The post mentioned above explains how to do so. We can then deal with the display part on our Node-Red web server. We recently published another post on the use of Node-Red with MQTT.
Here is a screen shot of the Node-Red programming flow:
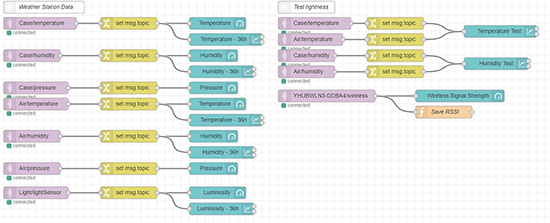
The Node-Red programming flow
And here, the final rendering with data display:
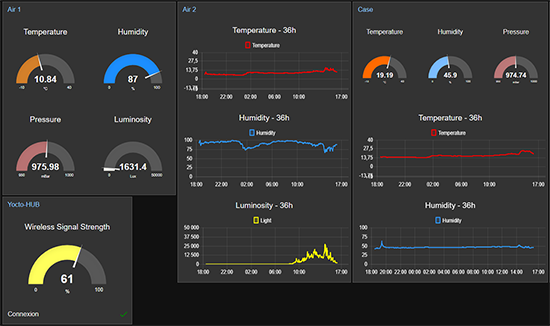
The data display
You can see in the "Case" tile a graph of the humidity over the latest 36 hours. You can note that the humidity doesn't go up, or only a little bit. Note also that the temperature inside the enclosure is higher than outside. This phenomenon is due to the electronics emitting heat in the enclosure, in particular the Wifi hub. We'll need to see how the system behaves over time.
Conclusion
To conclude, our weather station seems to work correctly on a short term basis. We need to see if our waterproofing techniques are long lasting or not. We are going to leave the weather station in position as long as possible and see whether it resists to the weather as we hope it will.
Improvements
We liked the design of the weather station with plastic plates. We therefore plan to add to it a specific lighting, we might write another post about it.


