![]() In a previous post, we explained how to integrate Yoctopuce modules into Home Assistant using the MQTT protocol. This week, we show you how to install our VirtualHub application on Home Assistant.
In a previous post, we explained how to integrate Yoctopuce modules into Home Assistant using the MQTT protocol. This week, we show you how to install our VirtualHub application on Home Assistant.
The recommended solution for installing Home Assistant is to use the "Home Assistant Operating System", often abbreviated to HAOS. This is a dedicated image that runs only Home Assistant. The advantage of this solution is that Home Assistant installation is trivial. The downside is that you can no longer easily install other applications on the machine. You have to go through an Add-On mechanism to add additional applications.
So we've released a Home Assistant Add-On that makes it easy to install VirtualHub on the Home Assistant Operating System.
Installing the Yoctopuce repository
Before you can install VirtualHub, you need to add the Yoctopuce Add-On repository to your installation. This repository is a page containing a list of published Add-Ons. In this case, it contains just one entry: VirtualHub.
To add this repository to your installation, simply click on the following link to launch the wizard that installs this repository.
The wizard starts by asking you for the URL of your Home Assistant server.
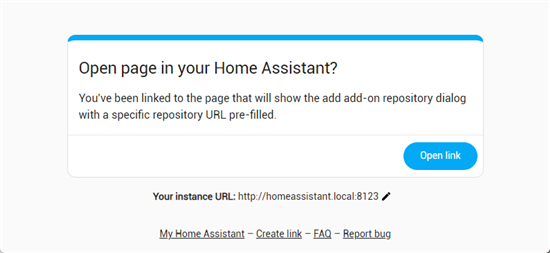
It then pre-fills the add repository form with the URL of the Yoctopuce repository (https://github.com/yoctopuce/ha_addons) and asks you to confirm the action.
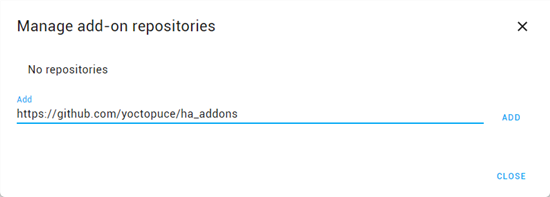
Once this last step has been completed, you should see a new section in the Add-On store page. If the repository doesn't appear immediately, please refresh the page in your browser.
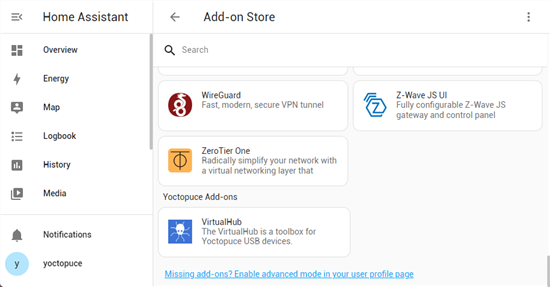
Once the repository has been added, VirtualHub is available in the Add-ons list.
Installing VirtualHub on Home Assistant
Installing VirtualHub on Home Assistant is identical to installing any other Add-On: go to Settings, then to the Add-On page, and click on the "Add-On Store" button in the bottom right-hand corner. VirtualHub is listed in the "Yoctopuce Add-Ons" section.
Once selected, simply click on the "Install" button. Please note that installation takes several minutes.
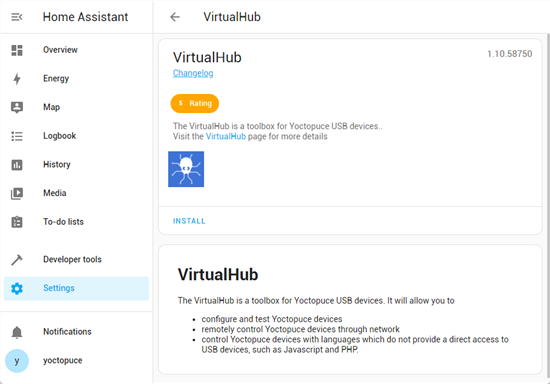
Once installation is complete, VirtualHub appears in the list of installed Add-Ons. From this page, you can start and stop VirtualHub. Note that VirtualHub is not started by default after installation, so you need to start it the first time.
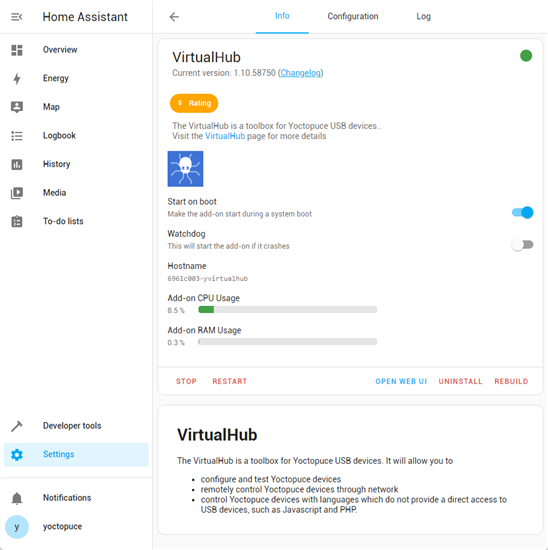
VirtualHub's Web interface can be accessed by going directly to port 4444 or by clicking on the "Open Web UI" button. By default, VirtualHub is accessible to everyone without authentication. If you wish to configure authentication, please refer to chapter 5 of the VirtualHub documentation.
Once started, Yoctopuce modules connected to the USB port of the Home Assistant server are accessible through the VirtualHub Web UI.
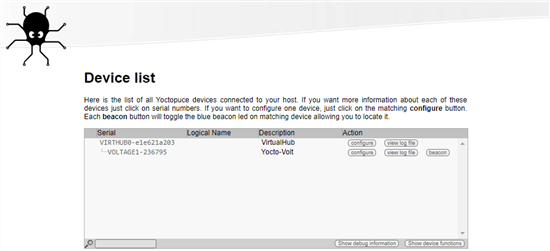
VirtualHub Web interface
Updating VirtualHub on Home Assistant
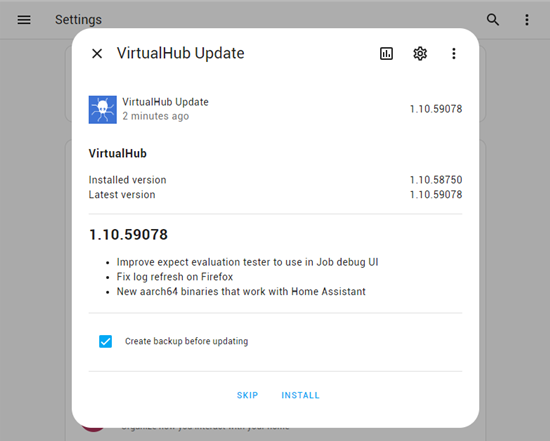
VirtualHub updates appear directly in the Home assistant interface, and all you have to do is click on the "Update" button to install them.
In conclusion
As we've just seen, installation is very simple. This makes it possible to use Yoctopuce modules connected to the USB ports of the Home Assistant server. By combining MQTT and VirtualHub as described in our post "Yoctopuce and Home Assistant", you can use the values of these sensors in Home Assistant.


