![]() We recently decided to systematically test the behavior of Yoctopuce modules when they are submitted to high temperatures. We therefore had to build an enclosure able to heat up and maintain a relatively precise temperature. This week, we show you how we built it.
We recently decided to systematically test the behavior of Yoctopuce modules when they are submitted to high temperatures. We therefore had to build an enclosure able to heat up and maintain a relatively precise temperature. This week, we show you how we built it.
The basic idea was to use an aluminum enclosure heated with small halogen bulbs and to use a Yocto-LatchedRelay and a Yocto-Thermocouple to control the lighting of the bulbs and thus adjust the temperature. We showed in a previous post that we could easily use halogen bulbs as heaters and that a simple relay driven with a PID provides good results in terms of regulation. Nevertheless, there a few intricacies that we must take into account:
- We'd like the temperature level in the enclosure to be relatively homogeneous, and not a gradient around the bulbs
- We'd also like to avoid for the control electronics to be always submitted to the heat generated by the bulbs.
The principle
We therefore decided to use three separate enclosures.
- The first enclosure is for the modules to be tested. It doesn't contain anything else apart from fixing points and a thermocouple to measure the temperature
- The second enclosure contains the bulbs. We used two small 12V 50W bulbs. This second enclosure communicates with the first one thanks to two big holes in which fans are located. The task of these fans is to circulate the heated air to homogenize the temperature in the first enclosure.
- The third enclosure contains the control electronics.
The enclosures are screwed to one another, but separated with spacers in order to avoid undesired heat transfers.

The enclosure structure
The electronics
We could have simply connected the Yocto-LatchedRelay and the Yocto-Thermocouple by USB to a control computer, but we rather wanted an autonomous appliance. Therefore, we decided to include a Raspberry Pi 3 in the enclosure. For the interface, we chose a Yocto-MaxiDisplay. On top of providing a screen, this module allows us to interface six buttons, which is great as we need at least 4:
- A button to increase the set temperature
- A button to decrease the set temperature
- A button to start the experiment
- A button to stop the experiment
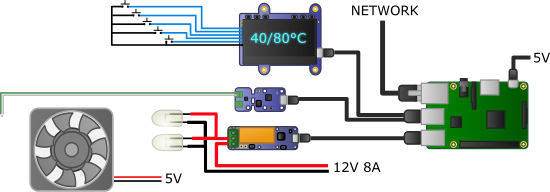
System electronics
We put the screen and the buttons in a control panel. We built this control panel with a mix of 3D printing for the structure and of panes of black acrylic glass, cut with a laser, for top and bottom. Everything is assembled with screws and threaded inserts.
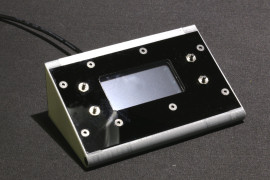
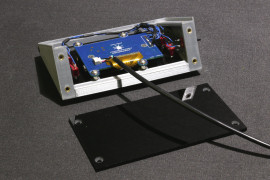
The control panel
The Raspberry Pi is powered through a micro-USB socket on the side of the enclosure. We could have taken the required energy on the bulb power supply and converted it to 5V with a DC/DC, but there would have been two issues:
- The box power supply would have been polarized
- A bulb power cut would have created a brutal shut down of the Raspberry Pi, which is never good.
We also moved away the Raspberry Pi UTP socket in order to, if need be, connect the enclosure to Internet and monitor it remotely.
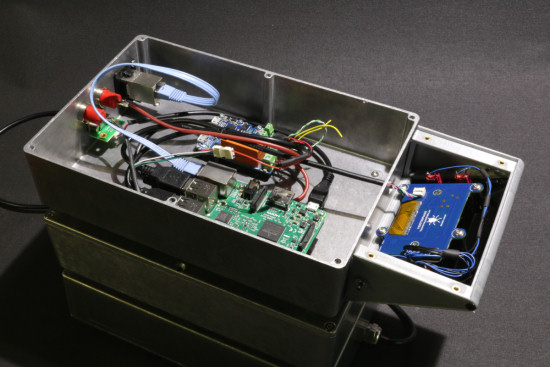
The electronics in the enclosure
The shutdown issue
While it makes the enclosure autonomous, the Raspberry Pi has a major inconvenient. It's really not recommended to stop it by cutting its power supply without having performed an OS shutdown previously. The risk is to find oneself with a corrupted file system and a Raspberry Pi which won't start anymore. Therefore, we added a button which enables the user to trigger a clean shutdown.
The software
A simple Python script drives the enclosure. This scripts starts automatically at the same time as the Raspberry Pi. Rather than using a pure USB connection, we installed a VirtualHub which starts automatically, as well. Thus, an external application can, if need be, connect itself to the enclosure VirtualHub and monitor the temperature. The script driving the system is less than 200 lines long, if you want to have a closer look at it, you can download it here.
Conclusion
In a few hours, we built an enclosure able to maintain an internal temperature between 25 and 100 ░C with a simple and efficient interface. We could probably have bought a ready-made climatic chamber, but we suspect it would have cost a lot more for less flexibility in terms of control. To conclude, here are a few pictures of the finished enclosure:
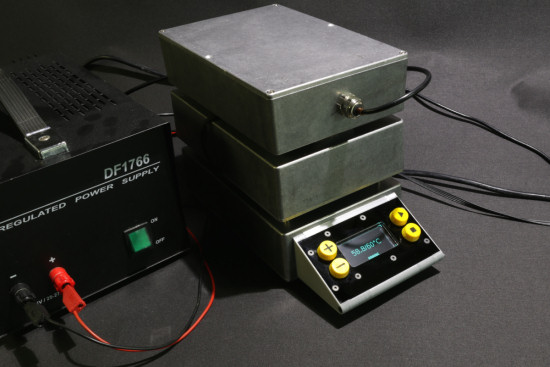
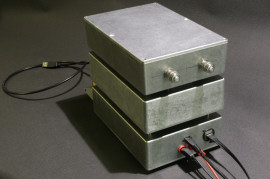
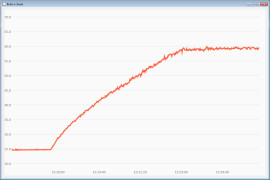
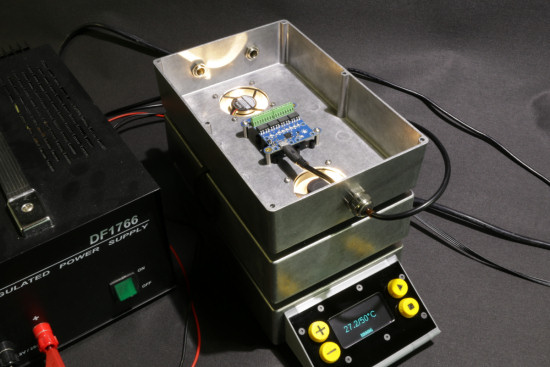
The finished enclosure
Well, now we need to do the same with cold, and it looks like it's going to be more complex. We'll keep you posted.


