When you build an electrical circuit requiring some power, for instance in a remote controlled scale model, it is essential to correctly size the wires and the battery. If the wires are too thin, they transform themselves into an electrical heater; worse, if a LiPo battery is undersized, it can transform itself into an incendiary bomb... The problem is that power consumption can be measured only in real life circumstances, when the motor (or any other consumer) is really working. Thus, it becomes interesting to use a small embedded ammeter from which you can read the measures later by USB. This is the perfect opportunity to present the Yocto-Amp, our new product.
The Yocto-Amp is relatively simple to use: It is an isolated ammeter, which means that the measuring electronics is independent from the USB electronics. You only need to connect (in series) the measure contacts on the wire of which you want to know the current, without asking yourself any other question. The module can measure current peaks up to 17 amps, but we recommend you not to go above 10 amps for a long stretch, to prevent the temperature of the measuring component to rise too much.
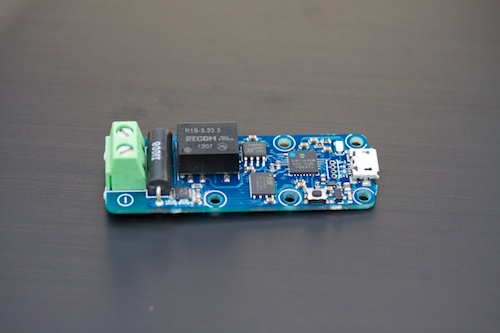
The Yocto-Amp
To present a real life example, we use a small remote controlled airplane from the Yoctopuce fleet. Connecting the Yocto-Amp is very easy: we solder a small connector in parallel on the USB power supply wires in order to power the module, which shares the same 5V used in the plane to power the radio receiver, and we switch the too heavy screw terminal with lighter connectors, inserting the ammeter in series on the power supply (beware, make sure not to connect it in parallel between the two wires, or you'll create a bad short circuit).
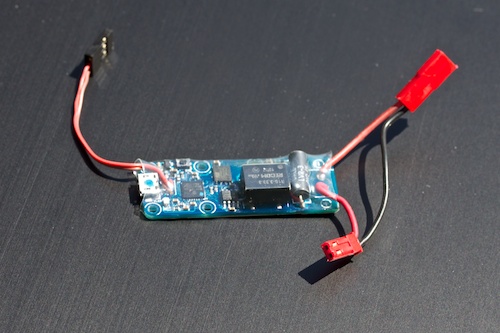
The same, once adapted for RC models
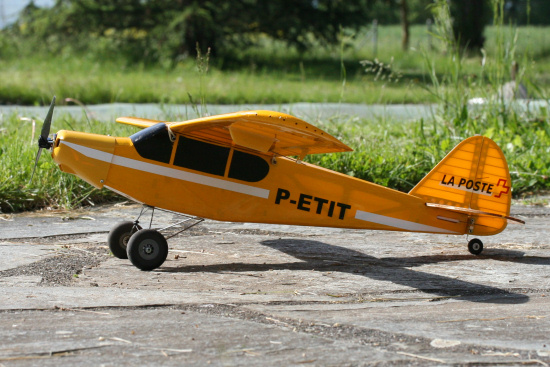
Our flying test bench
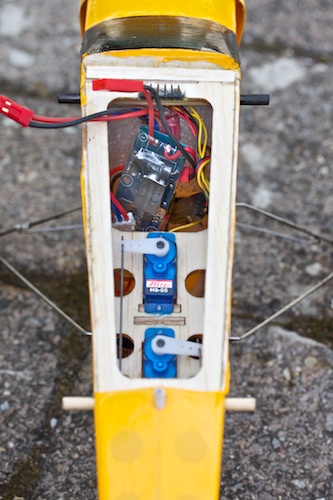
The Yocto-Amp, once mounted in the plane.
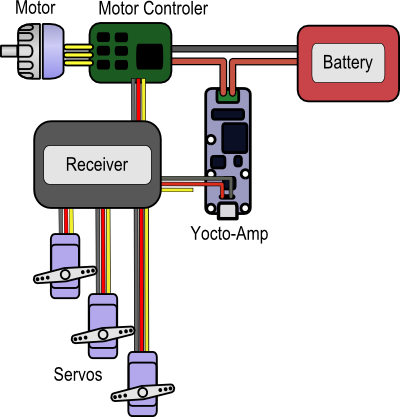
The plane wiring diagram
Then, for the ammeter to record measures every second on its flash memory, we simply connect the module by USB and use one of the sample programs provided in the Yoctopuce library to activate automatic recording at each power on. The last step is to do a test flight...
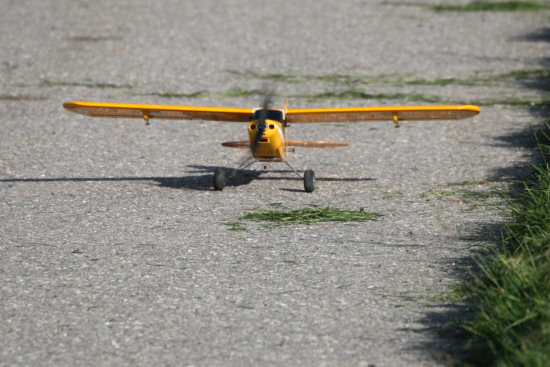
Let's go make these on flight measures
At the end of the flight, we disconnect the Yocto-Amp from the power supply and reconnect it by USB to read the measures. The data logger interface allows us to directly read the values in milliamps (mA), with a nominal precision of 1%. To make the example more visually impressive, we are going to write a short script which reads the recorded measures in the data logger and automatically generates a sequence of JPEG images containing the evolution of the current consumption (graphic), which we can transform into a video and superpose with the flight video.
include_once("yocto_datalogger.php");
include_once("jpgraph.php");
include_once("jpgraph_line.php");
include_once("jpgraph_plotline.php");
// Connect to data logger
yRegisterHub("http://127.0.0.1:4444");
$logger = yFirstDataLogger();
if(is_null($logger)) {
die("No data logger connected\n");
}
// Find the latest run longer than 300 seconds
$runIdx = $logger->get_currentRunIndex();
do {
$run = $logger->get_dataRun($runIdx);
$len = $run->get_duration();
} while($len < 300 && --$runIdx >= $logger->get_oldestRunIndex());
// Create a sequence of sliding graphs for this run, starting at t=130[s]
$run->set_valueInterval(1);
$start = 130;
for($f = 0; $f < 150; $f++) {
$xaxis = Array();
$data = Array();
for($i = -20; $i <= 0; $i++) {
$xaxis[] = $i;
$data[] = $run->get_averageValue("currentDC", $start+$f+$i) / -1000;
}
$graph = new Graph(600,350);
$graph->SetScale('intlin',0,7);
$graph->SetMargin(60,60,40,50);
$graph->xaxis->SetFont(FF_FONT2,FS_BOLD);
$graph->yaxis->SetFont(FF_FONT2,FS_BOLD);
$graph->title->Set("In-flight current measure");
$graph->title->SetFont(FF_FONT2,FS_BOLD);
$plot = new LinePlot($data,$xaxis);
$graph->Add($plot);
$plot->SetColor('#ff0000');
$txt = new Text(end($data)." Amp", 260, 50);
$txt->SetFont(FF_FONT2,FS_BOLD);
$graph->Add($txt);
$graph->img->SetImgFormat('jpeg');
$graph->Stroke(sprintf("frames/%04u.jpg", $f));
}
// Start this script using command: php graph.php
// Then convert images to a movie: ffmpeg -r 1 -b 1800 -i %04d.jpg currentDC.mp4
Here is the result:
| Consumption measures taken with an embedded ammeter | ||
The Yocto-Amp will be available in our shop in a few days, as soon as the documentation is finalized!


