![]() Recently we had to build a device able to measure temperature on a roof. No electricity was available up there, the only technological stuff we could use was a wifi network. That project is not really original since the issues involved have been covered in the mail box and the weather station posts. However we though you would be interested in the box construction....
Recently we had to build a device able to measure temperature on a roof. No electricity was available up there, the only technological stuff we could use was a wifi network. That project is not really original since the issues involved have been covered in the mail box and the weather station posts. However we though you would be interested in the box construction....
The box was meant to be attached to a pole, which is installed on a roof. That's why we had to build something tough: we didn't want to go up there for repairs every two weeks. The main idea is to measure the temperature with a Yocto-PT100 connected to a YoctoHub-Wireless-g powered by a USB battery which would be charged with a small solar panel .
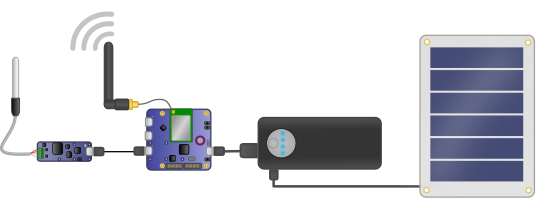
The box principle
We chose to put all the electronics in a waterproof aluminum box with openings for PT100 probe, the wifi antenna and the solar panel wire. Thanks to the YoctoHub-Wireless sleep feature, the system would be on only a few minutes per hour, so we don't expect any overheating problem. We found all the parts to build the box in local harwdare stores
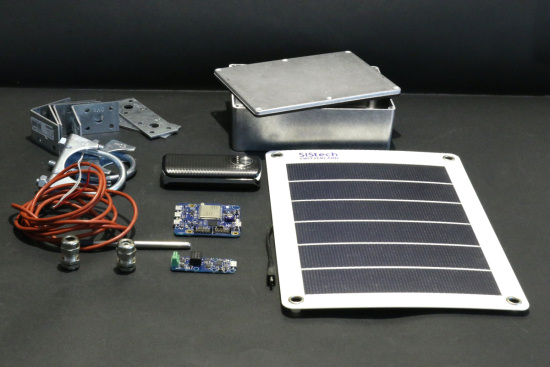
The projet's main parts
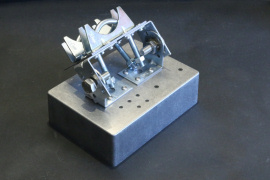
The most difficult part to find was a pointable fixing system to attach the box to a pole. We though we would found plenty of ready to use ones. Nope, we had to build one from basic metal hardware, welded and riveted together.
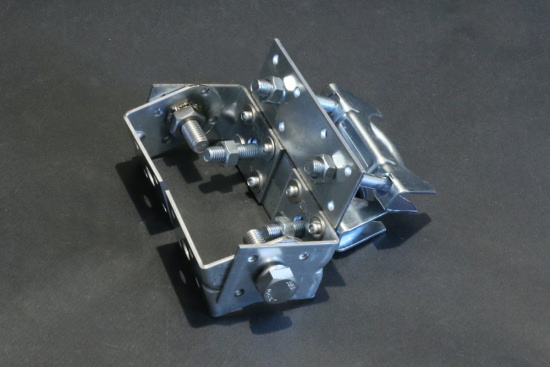
Homemade pointable fixing system.
We drilled some holes in the back of the box to attach the fixing system and the Yoctopuce devices. Since this required some precision, we used a pre-drilled guide.

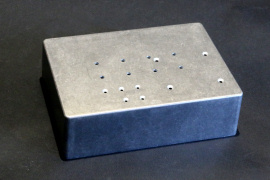
We drilled some holes in the back of the box
Then we installed some spacers in the box and attached the fixing system. We used screws dipped in epoxy glue to make sure the box stays watertight.

This is assembled with screws dipped in epoxy glue
Then we made some openings for the antenna connector, the PT100 probe and the solar panel wire. We also added a waterproof USB socket. This would allow us to configure the system without to having to open it.
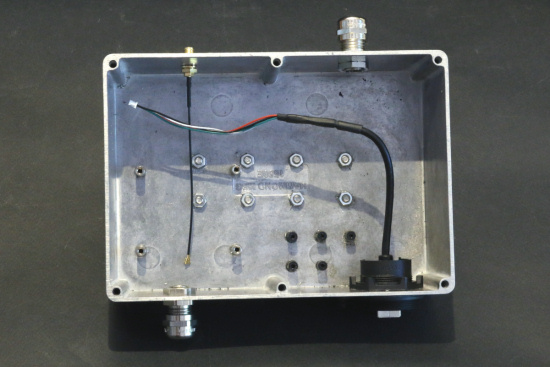
The wires openings
The solar panel is attached to two stacked acrylic glass panels with a small opening for the wire. The box lid is attached to the acrylic glass panels as well.
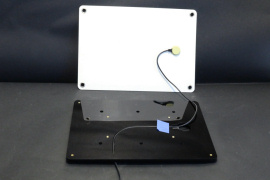
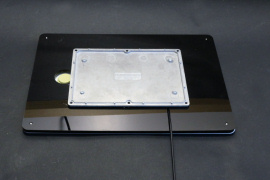
The solar panel and the box lid are attached to acrylic glass panels
Then we only had to install the electronic to complete the box. Before closing it, we placed a desiccant bag inside to make sure the humidity trapped inside the box would not condensate.
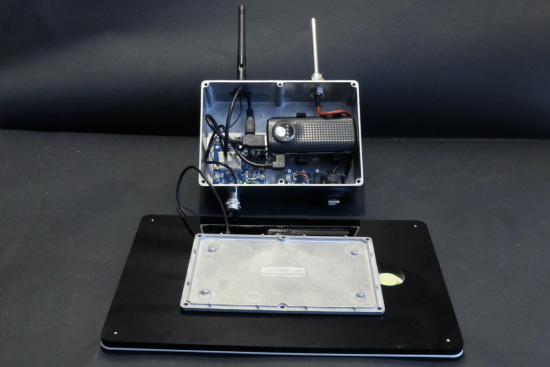
The electronic part
That architecture suffers from a little caveat: the box lid screws are placed under the solar panel. Should we have to access the electronics, we will have to unmount the solar panel first. That being said we really like our little thermometer box for it's agricultural machinery-like build.


