 When we announced the Yocto-Color-V2, we explained that this new version can drive up to 146 NeoPixel leds. However, to use this new feature, you must use a new API that we are going to discover in this post.
The Yocto-Color provided two ColorLed functions, one for each led. The number of NeoPixel leds connected to the Yocto-Color-V2 can reach up to 146. Therefore, it wasn't possible to have a function for each led anymore. For backward compatibility reasons, the Yocto-Color-V2 still has two ColorLed functions corresponding to the two leds on the board. But the module uses the new ColorLedCluster function which allows you to drive all the connected leds.
The ColorLedCLuster function is complex because it allows you both to manage the leds and to manage sequences. Before we explain how sequences work, let's see how to control single leds.
Assigning a color to a led
The set_rgbColor() function allows you to assign an RGB color to any led. The following example assigns the color red to the first led, green to the second led, and blue to the third led.
ledCluster.set_rgbColor(1, 1, 0x00ff00);
ledCluster.set_rgbColor(2, 1, 0x0000ff);
You can assign and read led values in block with the set_rgbColorArray() and get_rgbColorArray() methods:
rgbValues.add(0xff0000);
rgbValues.add(0x00ff00);
rgbValues.add(0x0000ff);
ledCluster.set_rgbColorArray(0, rgbValues);
...
rgbValues = ledCluster.get_rgbColorArray(0, 146);
It is also possible to work in the HSL color space with the set_hslColor(), set_hslColorArray(), and get_hslColorArray() methods.
...
ArrayList<Integer> hslValues = new ArrayList<>();
hslValues.add(0x00ff80);
hslValues.add(0x55ff80);
hslValues.add(0xf0ff80);
ledCluster.set_hslColorArray(0, hslValues);
You can perform smooth transitions to a color with the rgb_move() and hsl_move() methods. These two methods work like set_rgbColor() and set_hslColor() but take a fourth parameter which is the duration of the transition.
The following example performs a transition from black to red in 500ms, followed by a second transition to blue in a second.
// transition to red
ledCluster.rgb_move(0, 146, 0xff0000, 500);
YAPI.Sleep(500);
// transition to blue
ledCluster.rgb_move(0, 146, 0x0000ff, 1000);
All these functions modify the current state of the leds, but you can also change the color of the leds at module startup. You can do so with the set_rgbColorAtPowerOn() method which, instead of directly applying the color to the concerned leds, changes the default value of the leds. This default value is the color which is applied as soon as the module is powered on. You must imperatively save these modifications with the saveLedsConfigAtPowerOn() method, otherwise the changes are lost.
ledCluster.set_rgbColorAtPowerOn(1, 1, 0x00ff00);
ledCluster.set_rgbColorAtPowerOn(2, 1, 0x0000ff);
ledCluster.saveLedsConfigAtPowerOn();
Sequences
Sequences are one of the innovations of this new module. With them, you can create animations which are completely managed by the Yocto-Color-V2. This simplifies code writing and allows you to obtain very fluid animations, even with not very reactive machines.
Before examining in more details the sequence programming API, we must explain how a sequence works. A sequence is simply a series of color transitions that are applied to one or several leds. A transition is defined by three parameters:
- the color space to be used
- the target color
- the duration in ms
The addRgbMoveToBlinkSeq() and addHslMoveToBlinkSeq() functions allow you to add a respectively RGB or HSL transition to a sequence. These two functions take as argument the number of the sequence, the target color, and the duration of the transition.
For example, to make a led alternate between blue and red, you only need to create the following sequence:
ledCluster.addRgbMoveToBlinkSeq(0, 0xff0000, 1000);
ledCluster.addRgbMoveToBlinkSeq(0, 0x0000ff, 1000);
The resetBlinkSeq() method re-initializes sequence 0, the first call to addRgbMoveToBlinkSeq() is the transition to red in 1 second, the second call is the transition to blue.
You can then trigger the sequence execution with the runBlinkSeq() methods, which run the sequence in a loop.
But no led is going to light up because no led is linked to this sequence. For a led to play this sequence, we must assign it to the sequence with the linkLedToBlinkSeq() function. The first parameter of this method is the index of the first led, the second parameter is the number of leds, the third parameter in the number of the sequence to be played, and finally the last parameter is a time offset.
The complete example is therefore the following:
ledCluster.addRgbMoveToBlinkSeq(0, 0xff0000, 1000);
ledCluster.addRgbMoveToBlinkSeq(0, 0x0000ff, 1000);
ledCluster.linkLedToBlinkSeq(0, 146, 0, 0);
ledCluster.startBlinkSeq(0);
The code creates the sequence, assigns this sequence to all the leds, and starts the sequence. You can have up to 8 sequences which run at the same time. However, a led can be linked to only one sequence.
The following example creates two sequences and assigns the first one to the first 10 leds, and the second one to the following 15 leds.
ledCluster.addRgbMoveToBlinkSeq(0, 0xff0000, 1000);
ledCluster.addRgbMoveToBlinkSeq(0, 0x0000ff, 1000);
ledCluster.resetBlinkSeq(1);
ledCluster.addRgbMoveToBlinkSeq(1, 0x0ff000, 1000);
ledCluster.addRgbMoveToBlinkSeq(1, 0x0000ff, 1000);
ledCluster.linkLedToBlinkSeq(0, 10, 0, 0);
ledCluster.linkLedToBlinkSeq(10, 15, 1, 0);
ledCluster.startBlinkSeq(0);
ledCluster.startBlinkSeq(1);
As for static colors, you can configure a default sequence for a led. You must first modify the sequence so that it is automatically started when the module is powered on. This is what the set_blinkSeqStateAtPowerOn() method does. Finally, you need to save the sequence with the saveBlinkSeq method.
ledCluster.addRgbMoveToBlinkSeq(0, 0xff0000, 1000);
ledCluster.addRgbMoveToBlinkSeq(0, 0x0000ff, 1000);
ledCluster.set_blinkSeqStateAtPowerOn(0, 1);
ledCluster.saveBlinkSeq(0);
Then, you must use the linkLedToBlinkSeqAtPowerOn() method to link a sequence to a led, and save this new led configuration with the saveLedsConfigAtPowerOn() configuration method.
ledCluster.saveLedsConfigAtPowerOn();
Advanced sequences
Now that we have explained the basic workings of the sequences, let's see what we can create with these functions, more particularly when we play with the fourth parameter of the linkLedToBlinkSeq() function.
Until now, we have always synchronized leds, that is all the leds that play the same sequence display the same color at the same time.
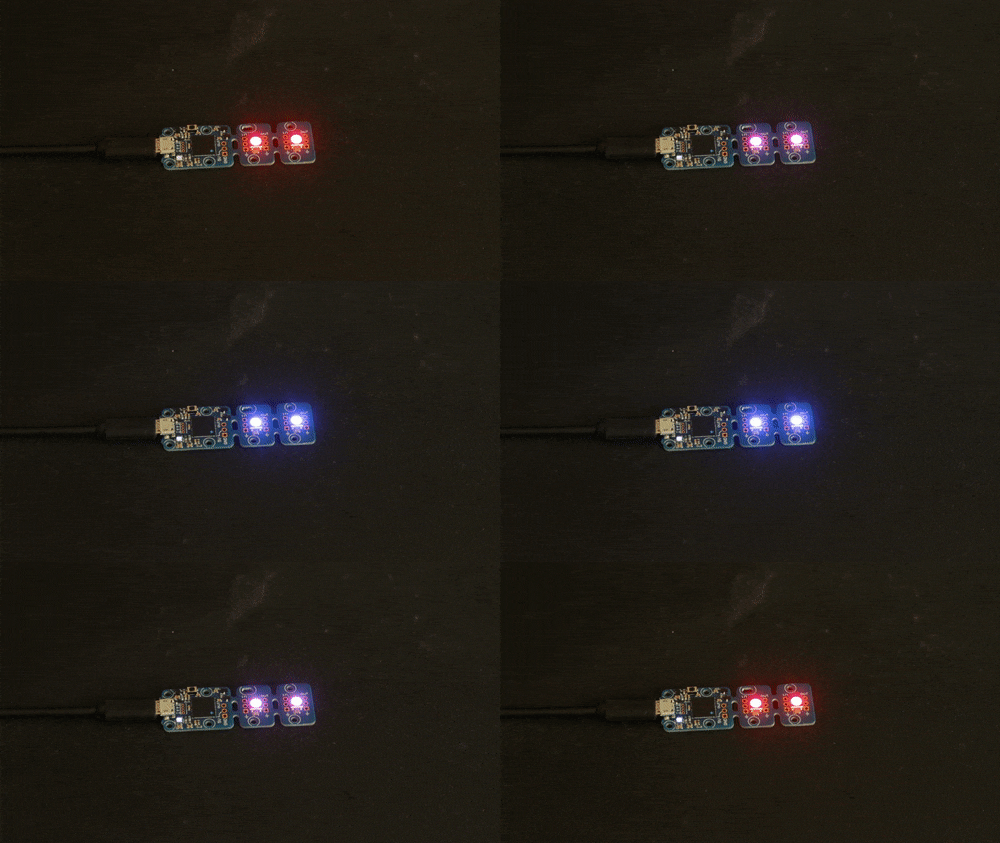
Running an automatic red-blue sequence with a 2 second period
You can desynchronize the leds by specifying an offset when calling the linkLedToBlinkSeq() method. If an offset is defined, the leds still run the same sequence but with a lag. The code below assigns led 0 to sequence 0 with a 0ms offset, then assigns led 1, still to sequence 0 but with a 500ms offset. This gives the impression that the red color moves from one led to the other.
ledCluster.addRgbMoveToBlinkSeq(0, 0xff0000, 500);
ledCluster.addRgbMoveToBlinkSeq(0, 0x0000ff, 500);
ledCluster.linkLedToBlinkSeq(0, 1, 0, 0);
ledCluster.linkLedToBlinkSeq(1, 1, 0, 500);
ledCluster.startBlinkSeq(0);
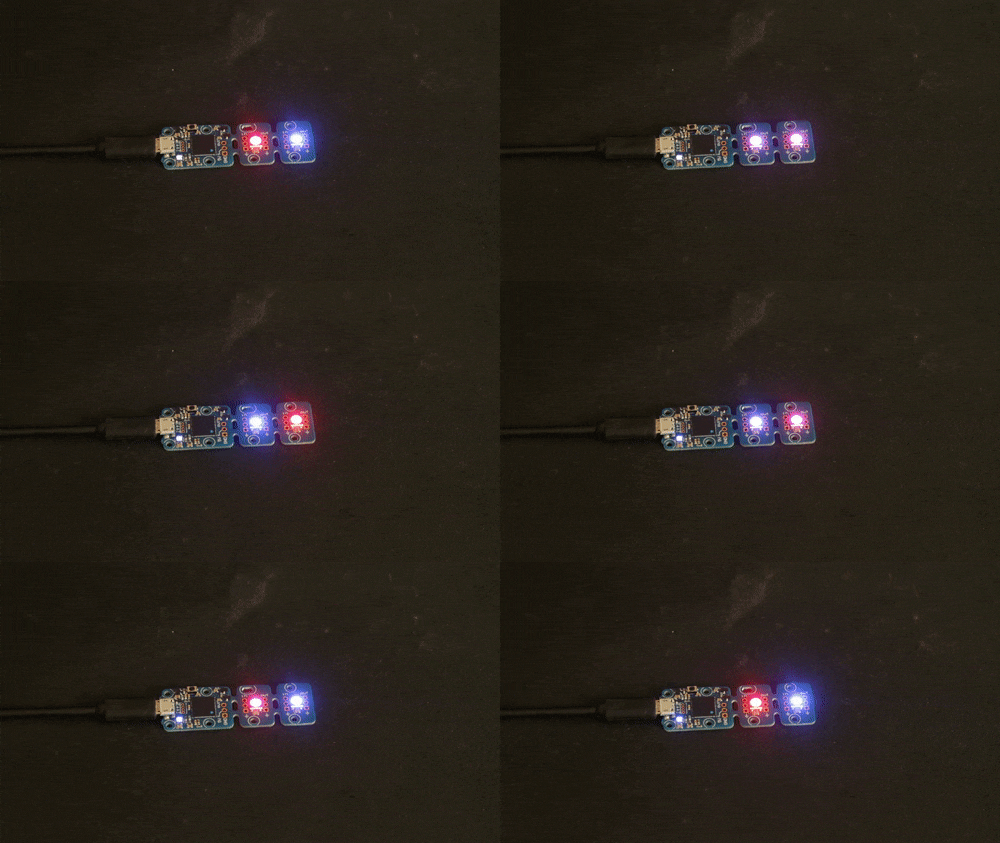
Running the previous sequence with a 1 second offset between the two leds
Offsets allow you to make very spectacular chase effects.
ledCluster.addRgbMoveToBlinkSeq(0, 0x0000FF, 0);
ledCluster.addRgbMoveToBlinkSeq(0, 0x00000, 200);
ledCluster.addRgbMoveToBlinkSeq(0, 0x000000, 400);
for (int i = 0; i < 60; i++) {
ledCluster.linkLedToBlinkSeq(i, 1, 0, 30 * i);
}
ledCluster.startBlinkSeq(0);

Offsets allow you to make very spectacular chase effects
You can also change or even inverse the execution speed of a sequence with the set_blinkSeqSpeed() method.
YAPI.Sleep(2000);
ledCluster.set_blinkSeqSpeed(0, 500);
YAPI.Sleep(1000);
ledCluster.set_blinkSeqSpeed(0, 0);
YAPI.Sleep(1000);
ledCluster.set_blinkSeqSpeed(0, -500);
YAPI.Sleep(1000);
ledCluster.set_blinkSeqSpeed(0, -1000);
This allows you to very easily create slow down or reverse effects.
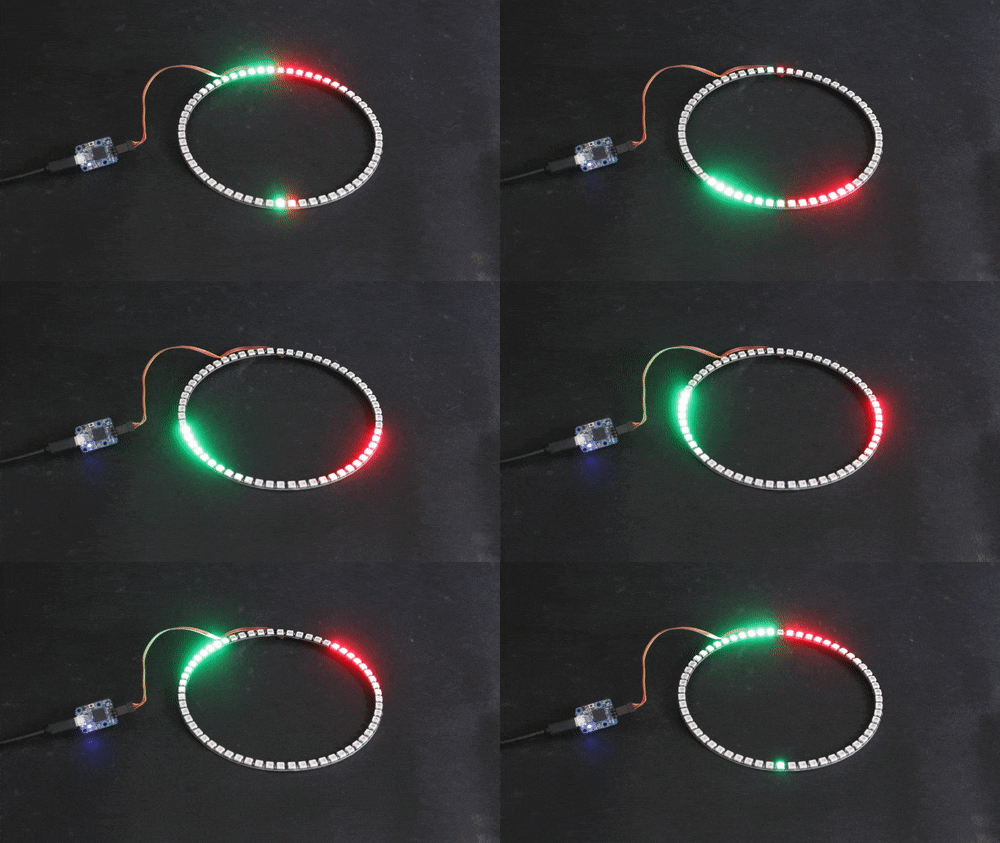
Here are a few sequence examples and their result:
ledCluster.addRgbMoveToBlinkSeq(0, 0xff0000, 0);
ledCluster.addRgbMoveToBlinkSeq(0, 0x000000, 100);
ledCluster.addRgbMoveToBlinkSeq(0, 0x000000, 200);
ledCluster.resetBlinkSeq(1);
ledCluster.addRgbMoveToBlinkSeq(1, 0x000000, 0);
ledCluster.addRgbMoveToBlinkSeq(1, 0x000000, 200);
ledCluster.addRgbMoveToBlinkSeq(1, 0x00ff00, 100);
for (int i = 0; i < 30; i++) {
ledCluster.linkLedToBlinkSeq(i, 1, 0, 10 * i);
}
for (int i = 0; i < 30; i++) {
ledCluster.linkLedToBlinkSeq(30 + i, 1, 1, 10 * i);
}
ledCluster.set_blinkSeqSpeed(0, 200);
ledCluster.set_blinkSeqSpeed(1, -200);
ledCluster.startBlinkSeq(0);
ledCluster.startBlinkSeq(1);
ledCluster.addRgbMoveToBlinkSeq(0, 0x0000FF, 100);
ledCluster.addRgbMoveToBlinkSeq(0, 0x000000, 100);
ledCluster.addRgbMoveToBlinkSeq(0, 0x000000, 400);
for (int i = 0; i < 60; i++) {
ledCluster.linkLedToBlinkSeq(i, 1, 0, 10 * i);
}
ledCluster.startBlinkSeq(0);
ledCluster.set_blinkSeqSpeed(0, 0);
YAPI.Sleep(1000);
ledCluster.set_blinkSeqSpeed(0, 1000);
YAPI.Sleep(1000);
ledCluster.set_blinkSeqSpeed(0, 750);
YAPI.Sleep(500);
ledCluster.set_blinkSeqSpeed(0, 500);
YAPI.Sleep(500);
ledCluster.set_blinkSeqSpeed(0, 250);
YAPI.Sleep(500);
ledCluster.set_blinkSeqSpeed(0, 0);
YAPI.Sleep(500);
ledCluster.set_blinkSeqSpeed(0, -250);
YAPI.Sleep(500);
ledCluster.set_blinkSeqSpeed(0, -500);
YAPI.Sleep(500);
ledCluster.set_blinkSeqSpeed(0, -750);
YAPI.Sleep(500);
ledCluster.set_blinkSeqSpeed(0, -1000);
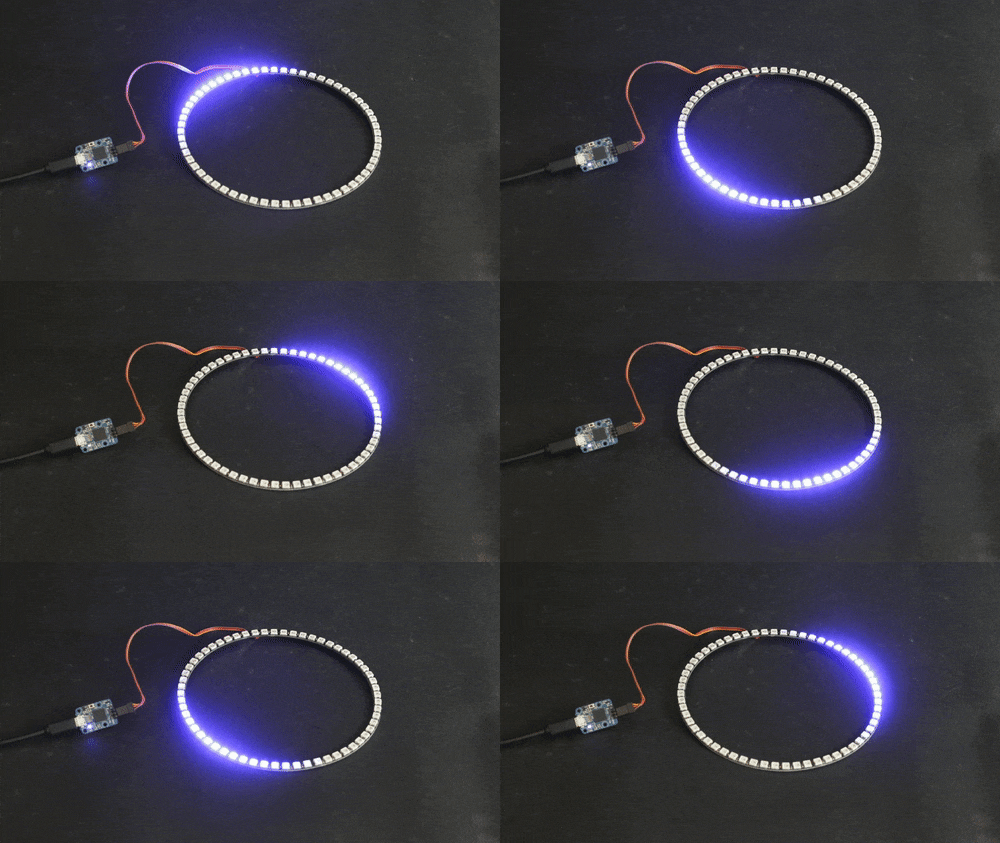
You now have all the cards in hand to prepare you next Christmas garlands :-)


